
It essentially uses the d-pad and left thumb-stick for directional movement and A for button 1 and B for button 2.
What is required: Arduino Uno R3
USB Host Shield 2.0
Six 5v Relays
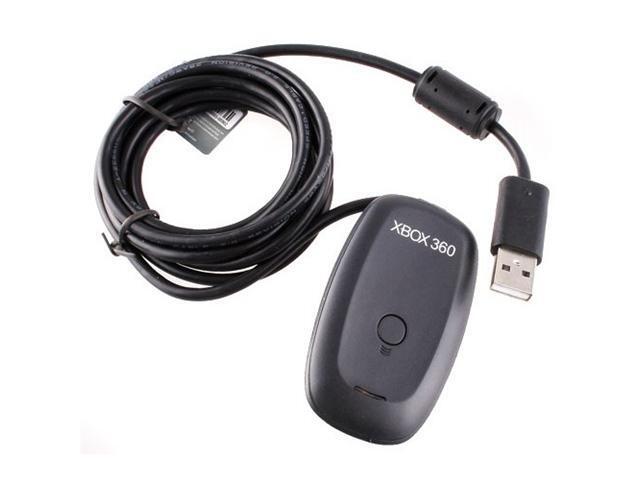
Xbox 360 wireless receiver for the PC
Wiring that would suit an Arduino
DB9 Female Plug/jack
Screwdrivers
Firstly install the USB host shield on the Arduino (update its Arduino libraries to include USB host shield)
Attach the 5v + ground to the six relays from the Arduino
connect each signal pin from the relay to the Arduino Digital Pins:
first relay signal pin = A (XBOX 360) = BUTTON 1 (SMS) = 4 (Arduino digital pin)
second relay signal pin = B (XBOX 360) = BUTTON 2 (SMS) = 3 (Arduino digital pin)
third relay signal pin = UP (XBOX 360) = UP (SMS) = 8 (Arduino digital pin)
fourth relay signal pin = Down (XBOX 360) = Down (SMS) = 7 (Arduino digital pin)
fifth relay signal pin = LEFT (XBOX 360) = LEFT (SMS) = 6 (Arduino digital pin)
sixth relay signal pin = RIGHT (XBOX 360) = RIGHT (SMS) = 5 (Arduino digital pin)
~Now you have the relays attached to the Arduino, time to attach the relays to the DB9 connector.
now to make it simple, connect all the "COM" ports (output/center socket/terminal) of the relays to each other and then to pin 8 to the DB9 Connector with the use of some wire, I used 28AWG.
Attach first relay's NO terminal socket to terminal 6 on the DB9 Attach second relay's NO terminal socket to terminal 9 on the DB9 Attach Third relay's NO terminal socket to terminal 1 on the DB9 Attach Fourth relay's NO terminal socket to terminal 2 on the DB9 Attach Fifth relay's NO terminal socket to terminal 3 on the DB9 Attach Sixth relay's NO terminal socket to terminal 4 on the DB9
Finally, plug the usb cable to the Arduino and flash it with the code. The relays should click a few times and then the controller will sync to the receiver (if it doesn't sync, try syncing it manually by pressing the sync button on both controller and receiver). Now every time you press a button, you should hear the corresponding relay "click" so if u press Down, the fourth relay would "click". The reason I had used relays is that I had them on hand. It will be way better and quieter if you actually used switching transistors, the commands will be issued on the sega side much faster however with the relays, I did not notice lag and it feels like I am using the original controller on the SMS console (reaction). I saved myself abit of money by not buying a 8BitDo mod kit or something just to enjoy abit of wireless controller gaming. Obviously it is possible to use other controllers such as ps3/ps4/xone however this code would not work with them and the code would require modification.
submitted by /u/momoster96
[link] [comments]
More...