
Here's its current form!

And here's the back:

Right now here's what it has:
- 2 Undamned converters to accept standard controllers
- Powered by a standard 12V AC Adapter + Buck converter to step down to 5V.
- GBS-8220 VGA upscaler w/ an ESP8266 attached to it to host the gbs-control CFW. The CFW REALLY cleans up the image quality. I'll explain it a bit later.
Here's some progression pics with a bit of story behind this:

This was shortly after the board came in the mail. Managed to get the game to boot successfully by hacking away at an ATX 24-pin connector. This jamma harness in this pic was off Amazon because I was afraid of doing it myself; I quickly learned it was absolute trash and should've done it myself.
The Undamned USB decoders worked like a charm. Whatever xb/ps controllers I have worked out of the box. Wiring it up from the jamma edge to its terminal blocks became trivial. The last two challenges were the video and the power.
The Gonbes GBS-8200 is the first thing I found find when looking for video upscaler solution. Not to my surprise, the picture quality's really crap out of the box. I incidentally became acquainted with Arturo around this time and he informed me about a CFW project over at Shumps. After a bit of soldering, the result is a REALLY good picture quality for hardware so cheap (~$30). My other two alternatives were the OSSC and the Framemeister. Both were way over budget to be a permanent solution for this Tag board.
Here's a pic from my WIP standalone GBS-8200 w/ the gbs-control CFW to help illustrate its potential as a poor man's OSSC/RetroTink:

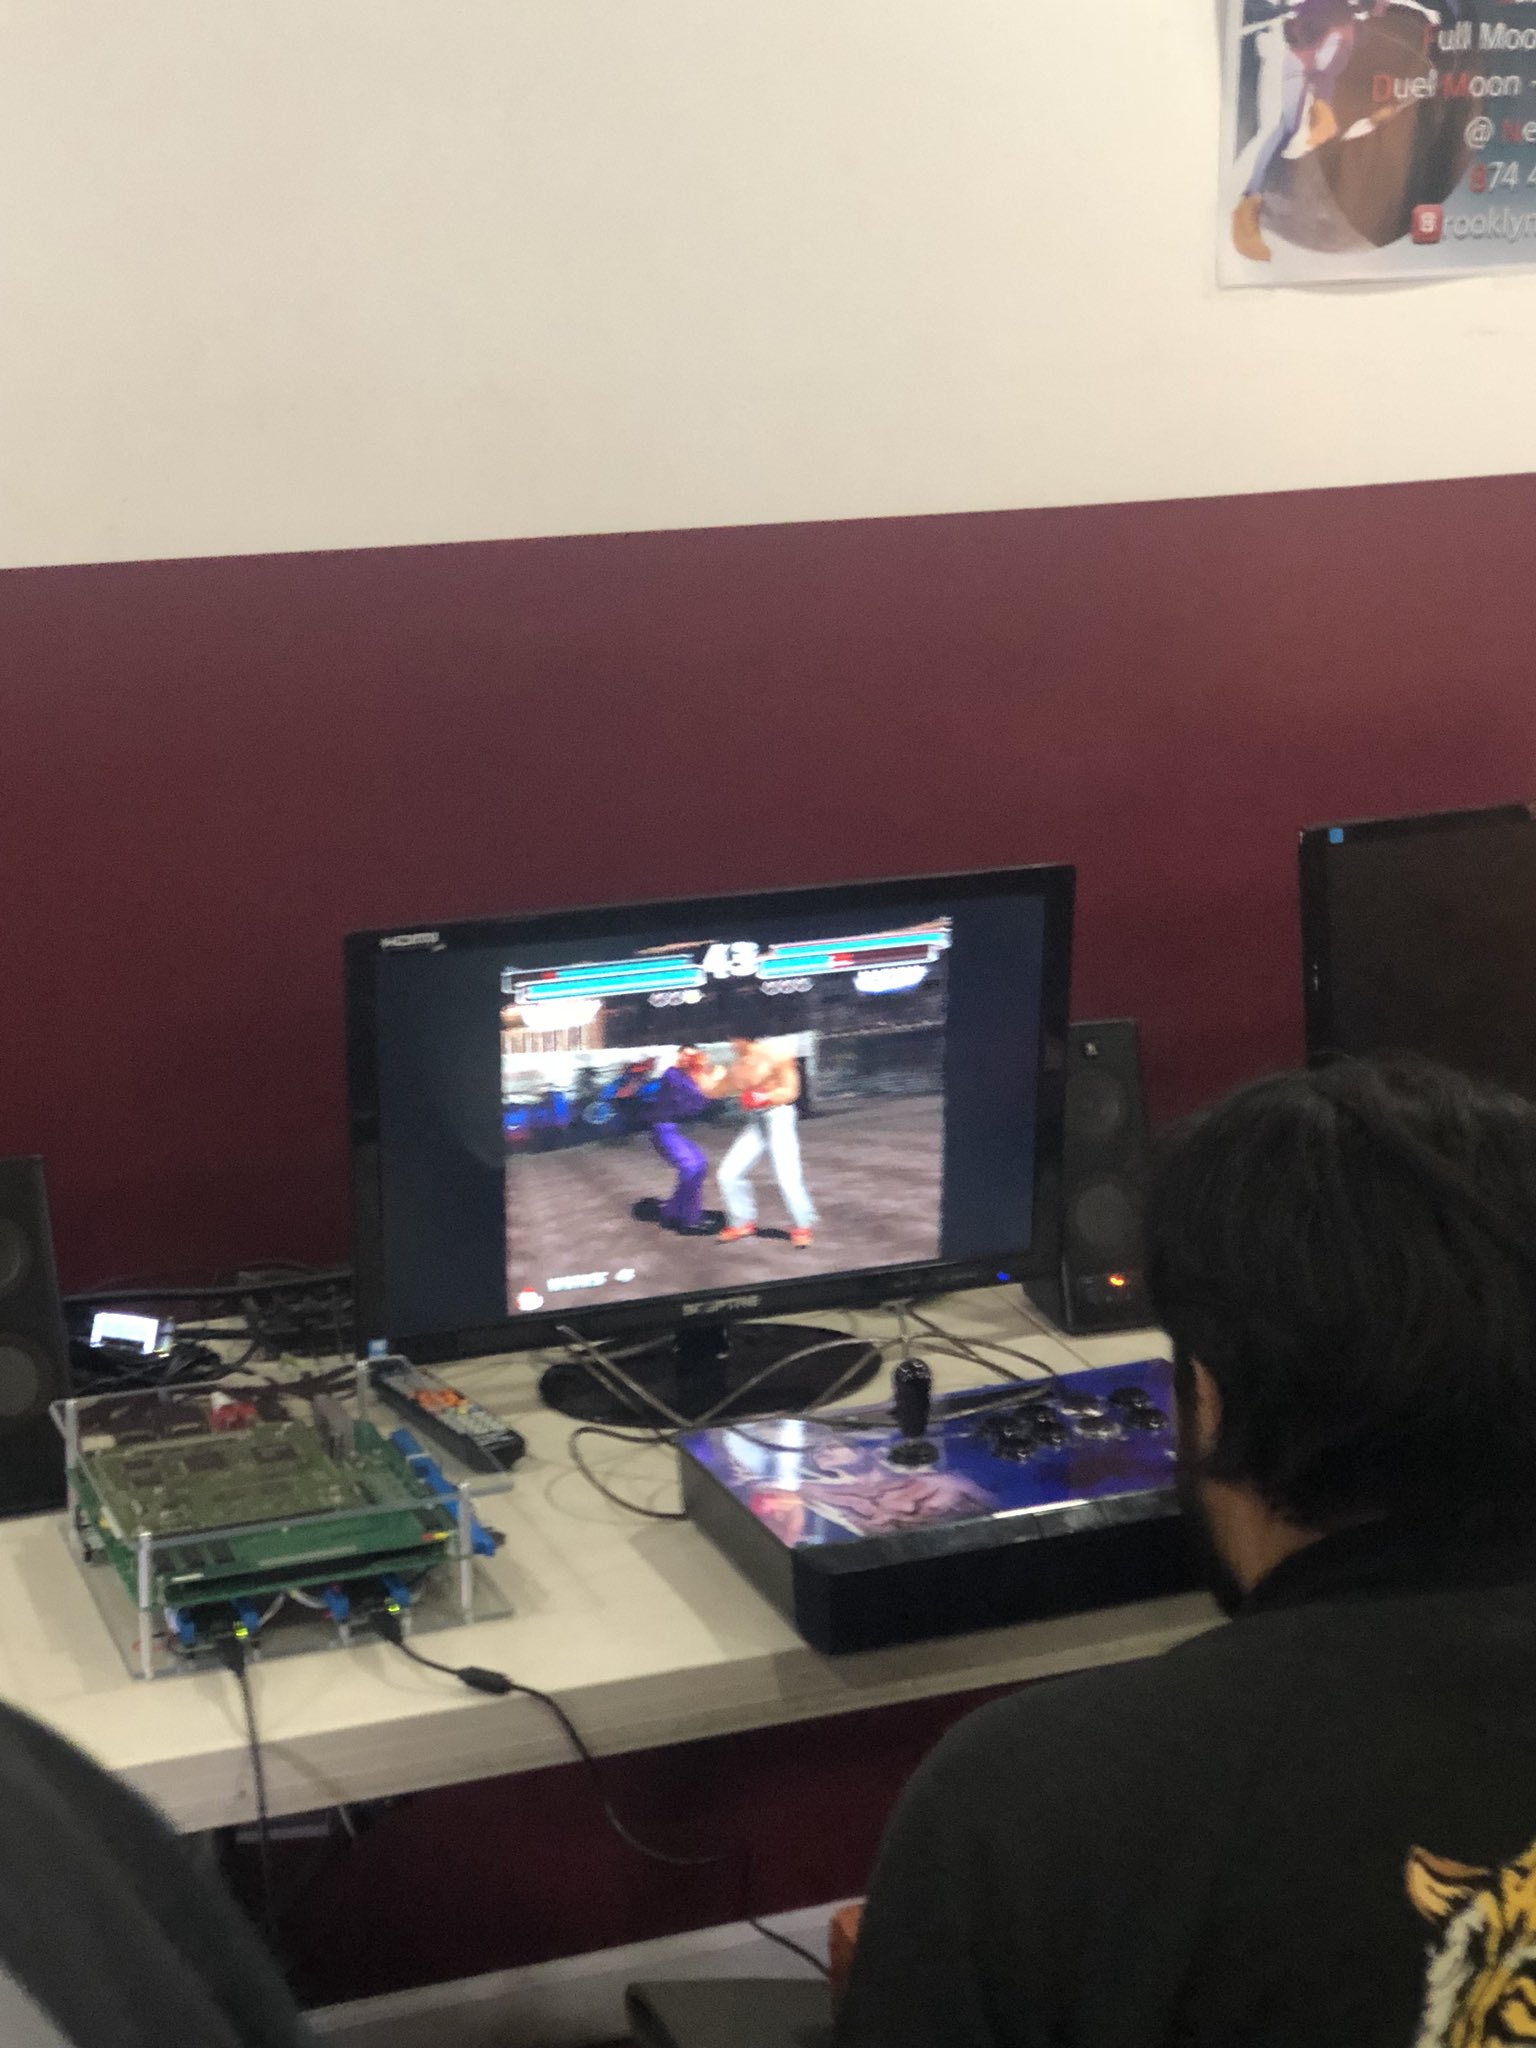
Here's Tag on my monitor:

And here's a couple of direct captures. This is coming off the GBS-8200 upscaled to 1280x960:


Coming this close to emulation quality was a shock at first sight. The cost of this hardware helped to REALLY make this project complete. I don't have to rely on a separate upscaler and can actually set it up anywhere.
This picture was after a whole bunch of trial and error and had FINALLY gotten this to work. PCBs and wires were littered everywhere:

Now that I have a working game, moving everything to one piece:


I'm still cringing at my wiring job and the nasty video ground loop issues I was running into reminded me how bad my wiring is. But this is my first time working on something this complicated so I'm taking it in stride.
The top right is a right angled bracket with a DC jack and a power switch. In the center with the LED panel is the buck converter that accepts the 12V coming from the DC jack and outputs 5v as the JAMMA edge needs 12v and 5v.
Also in this photo is the ESP8266 to give the upscaler its CFW, leftover Crown buttons to be the Test/Service buttons, and a second unnecessary buck converter (trial and error!).
The one caveat of this setup is that if I also power the upscaler, I get nasty scrolling bars in the picture. If it given its own power source (standard USB phone charger), the ground loop disappears. I don't have formal electronics experience and gave up solving this issue. At the time of writing this I think I have a solution but have yet to try.
But alas, it worked! I took it to work the next day to completely confuse the crap out of my coworkers. Best part is it became a decent conversation starter. One coworker was an arcade technician in his previous life and was able to understand what I pulled off. But everyone was impressed when they realized it's fully playable. A few guys recognized the game and were eager to try it out.
Here's some pics of them trying it at work after hours:


I have some more pics but I don't know if they want their faces here.
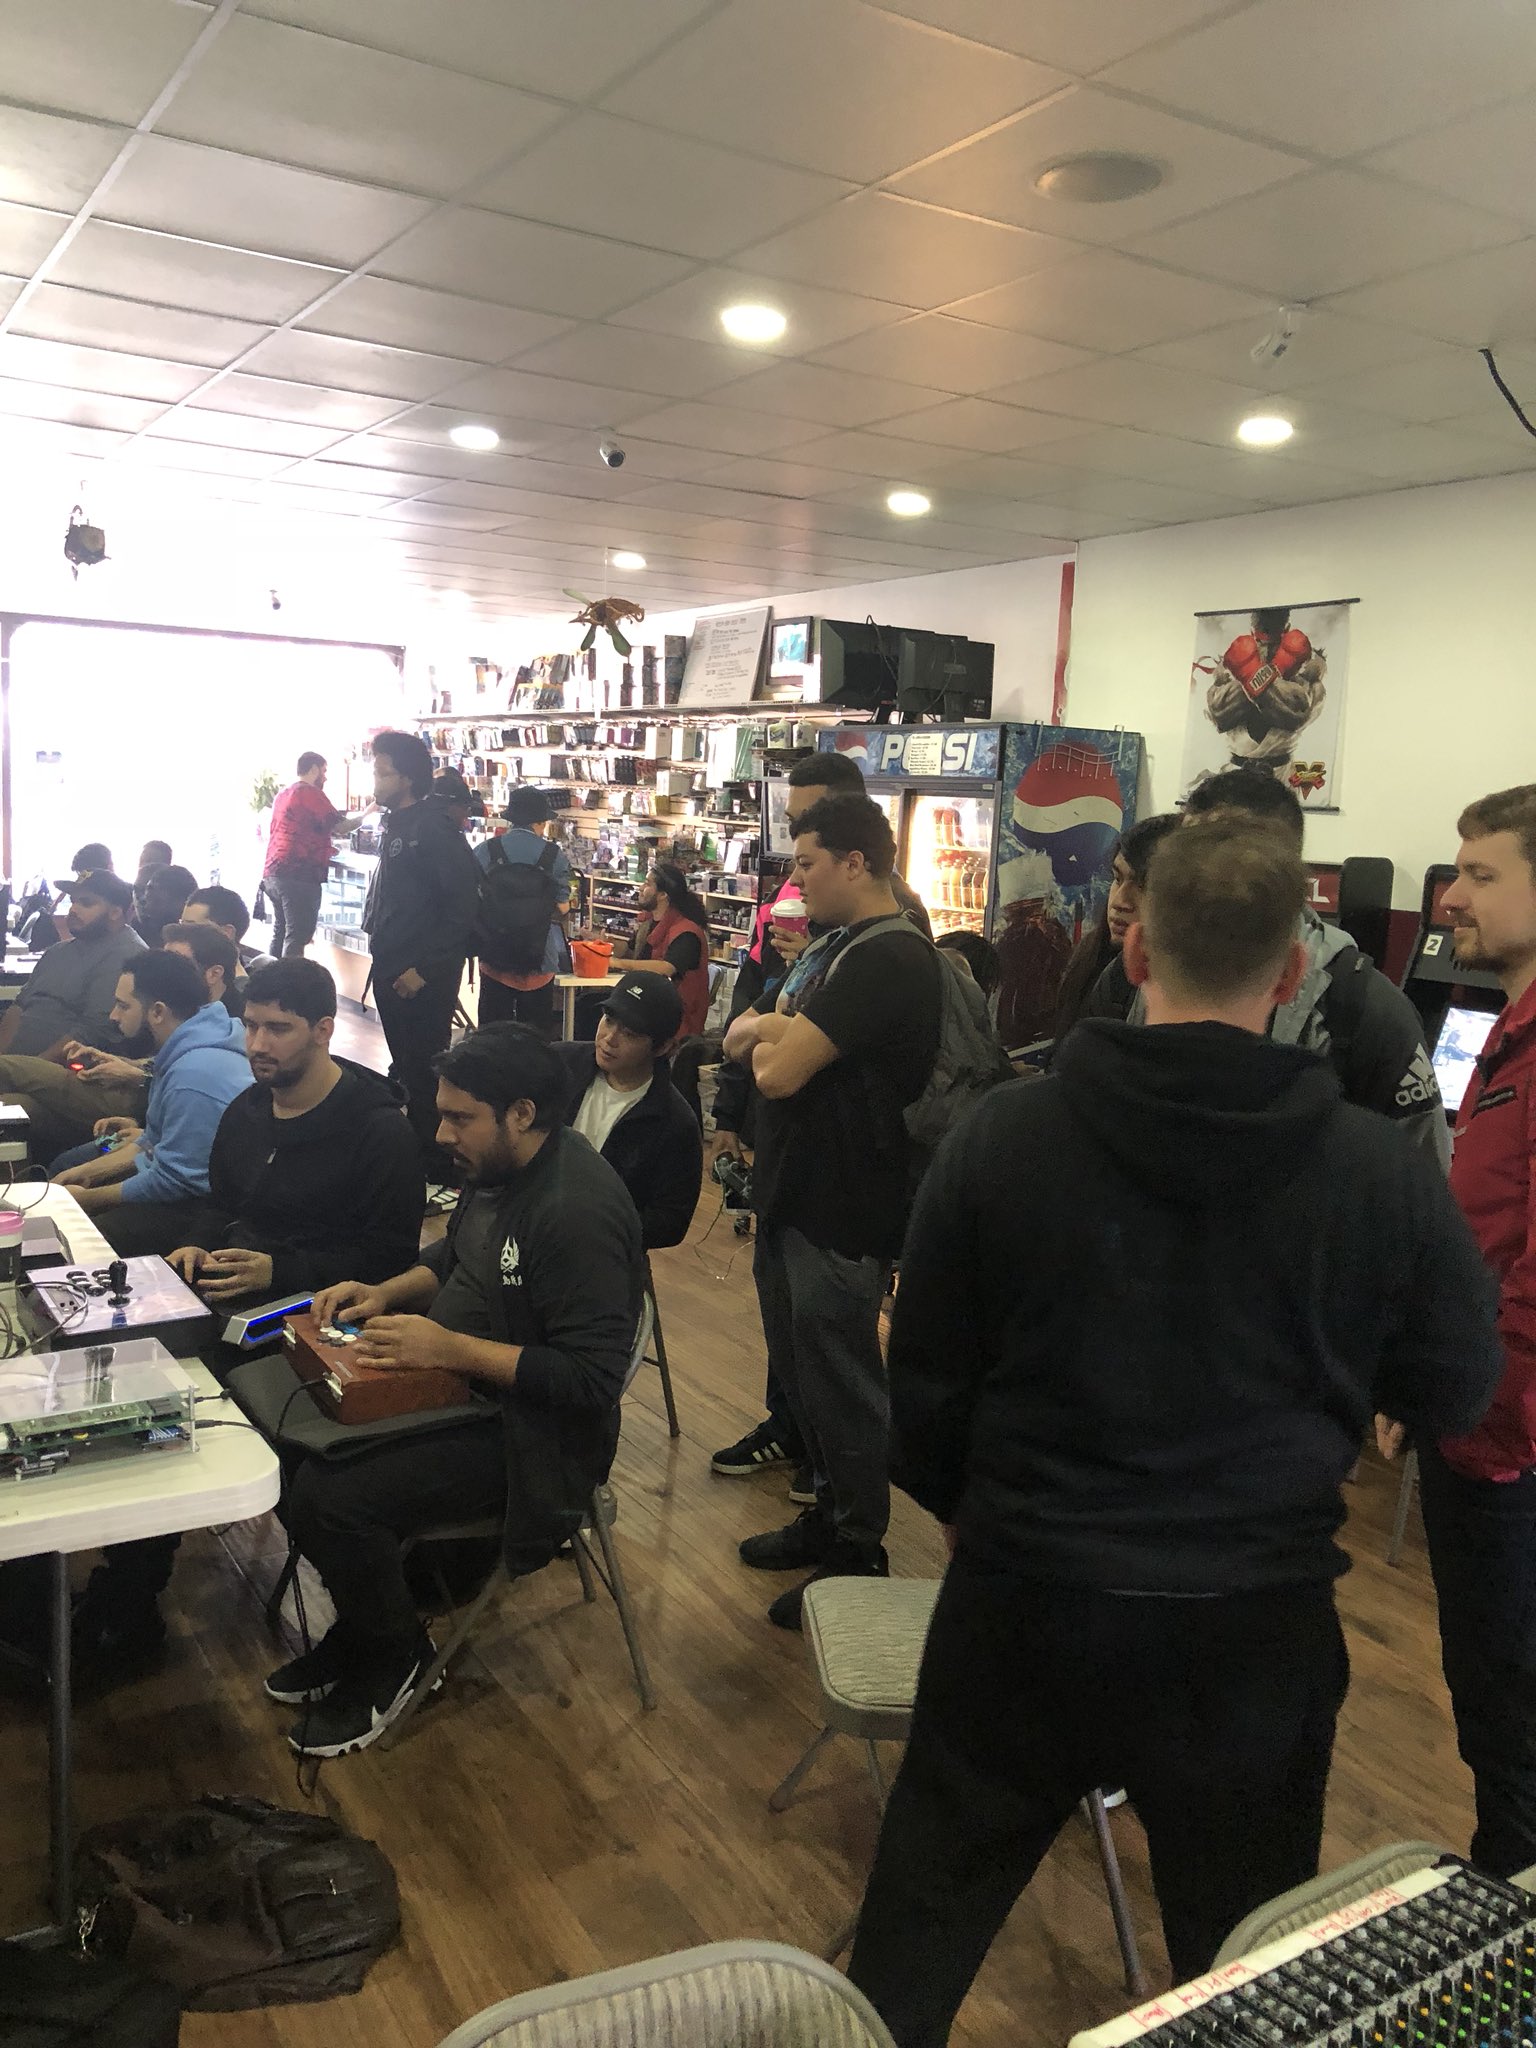
Anyway this ghetto wood board state was also setup at Next level thanks to Arturo:
twitter.com/nycfurby/status/1178408818348306439
------------------
One month later Arturo tells me Qudans is coming to Next Level to steal our TWT points. I 100% needed to get the Tag board ready. So I was in a bit of a rush to make a bit more presentable.
This is my first time cutting acrylic and I only had a really small speed square. It wasn't until my 8th and final cut had I finally gotten the hang of it. Nevertheless, I managed to transport everything over:


Moving things over to plexi, I shamelessly took inspiration from psykom1's consolized CPS3 post. A sheet of plexi from home depot, long standoffs off ebay, and screws to hold everything together. I really messed up the screw holes (you can see the standoffs bending a bit) but at least it does hold and doesn't put flex on Tekken PCB. When I'd finally peeled off the plastic I was REALLY proud of what I pulled off.
Here's a pic of how well it sits with the rest of my stuff:

The best part is finally seeing it in Next Level played by Qudans!! (thanks Arturo again, pics off his Twitter):

twitter.com/nycfurby/status/1188570065614069760
Here's the VOD of Qudans convincingly winning the Tag1 side tourney without losing a round:
youtube.com/watch?v=CG6uuOBuhd0
And that about wraps up this post. While the workmanship is a a bit iffy, I'm happy I was able to see this project reach this point. Next up is adding HDMI support and fixing the ground loop issue when powering it off one AC adapter. What's rewarding about this project is the exposure it gave me to a wide variety of skills from electronics and soldering and dealing with analog video woes to cutting and drilling materials.
Quick TY to:
- rama over at Shumps forum for the awesome GBS-8200 CFW.
- Undamned for his converters making USB controllers work out of the box
- Arturo Sanchez! For giving me pieces of advice and encouragement along the way. And also for bringing Tag 1 to Next Level.
- This forum for being a haven for lurkers like me with some amazing projects.
I appreciate everyone for their time to read this write-up! If I make improvements I'll update this post.
More...