Our starting point isn’t exactly great, but there’s enough here that’s complete to get this thing back into shape and playable as a Defender again.
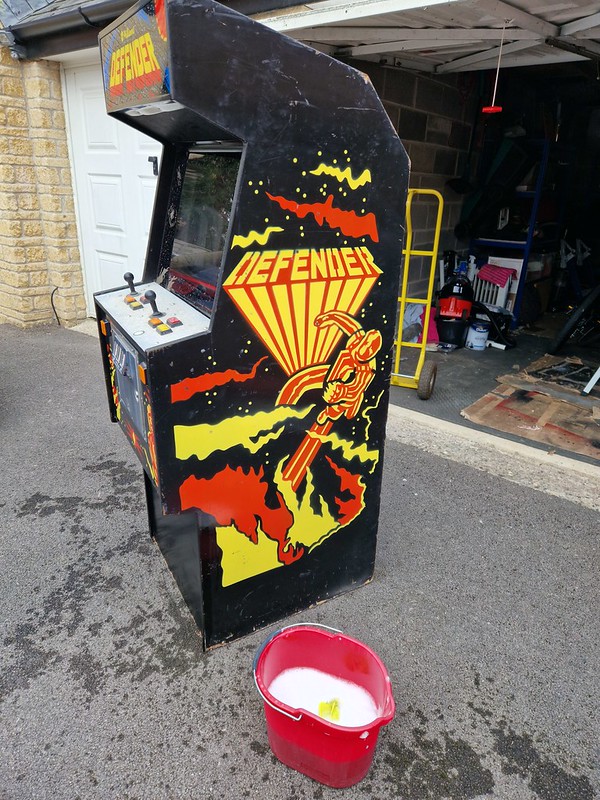
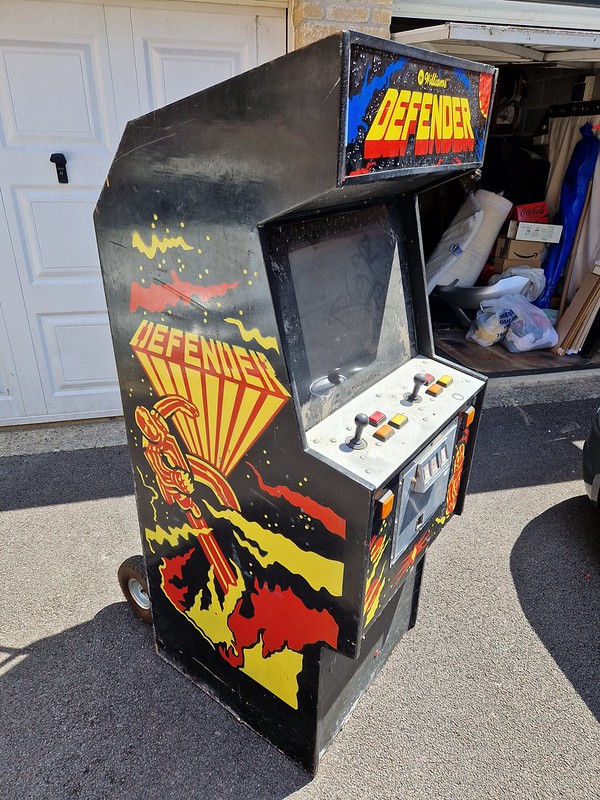 Here she is. An original upright Williams Defender cabinet
I figured the first thing to do was to give the cabinet a good clean out. The plan is to get it in solid shape ready to repopulate with new hardware. So let’s get going.
The cabinet came with a WG4600 monitor. Original from factory, these are hardy monitors from everything I’ve read, and typically to get one going again doesn’t take a great deal of work. This one was particularly filthy having been sat in this cabinet since the early 80s, and I had no idea if it worked. The first job was to clean it up:
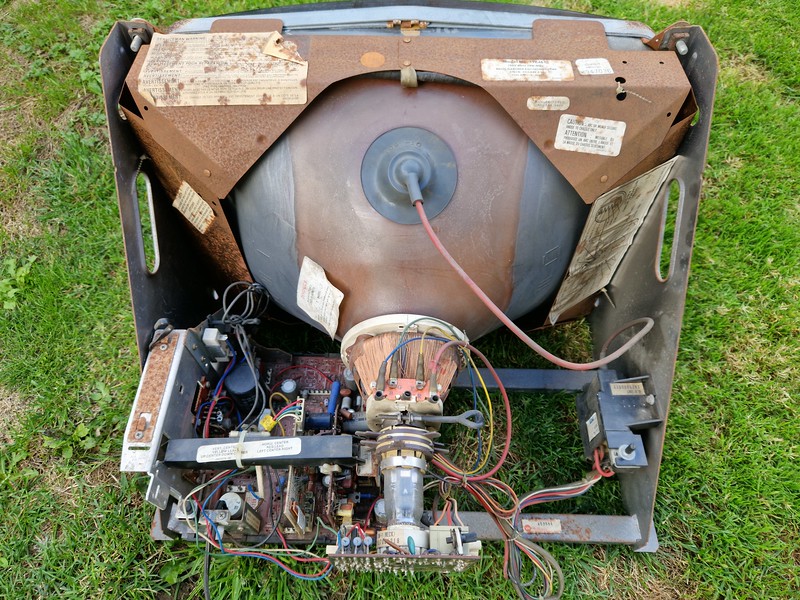 WG4600. Not a pretty sight by any means.
Now there are various ways of cleaning up an old monitor. I tend to go at it with brute force.
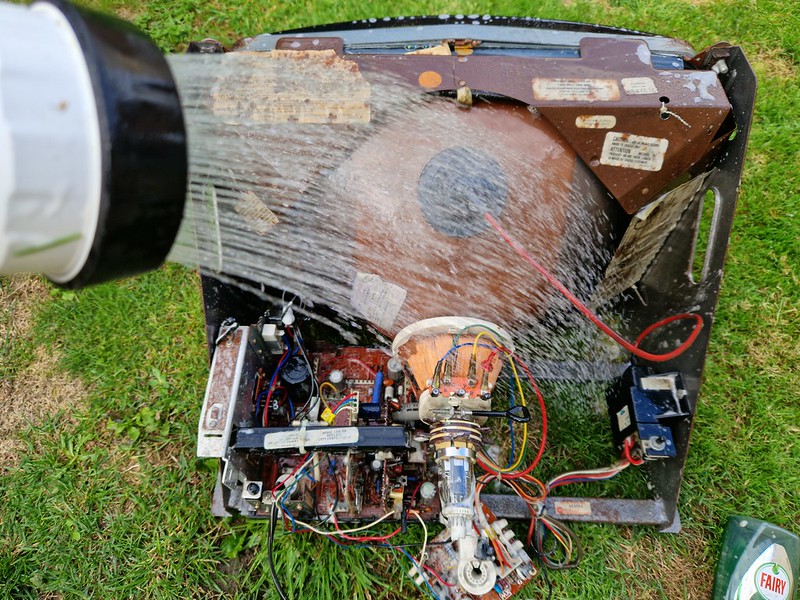 Trust me. I’m a doctor
I know, I know! We can debate the merits or otherwise of doing this but having “washed” various monitors over the years, I’ve found this method to be effective and safe. Clearly, you want to make sure the monitor is fully discharged before throwing any water at it, and ensure everything is fully dried out before applying power!
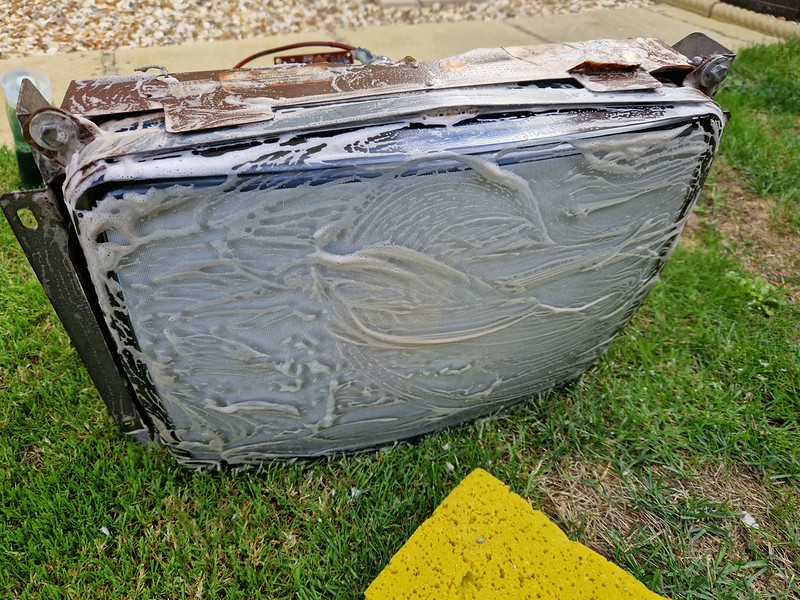 It was super mucky
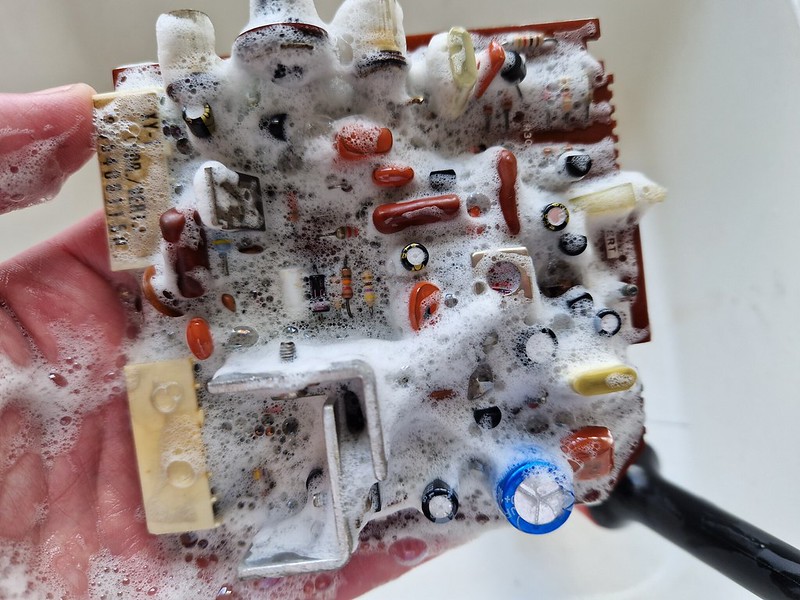 Detergent, warm water and an old paint brush to get in all the nooks and crannies is the way to go
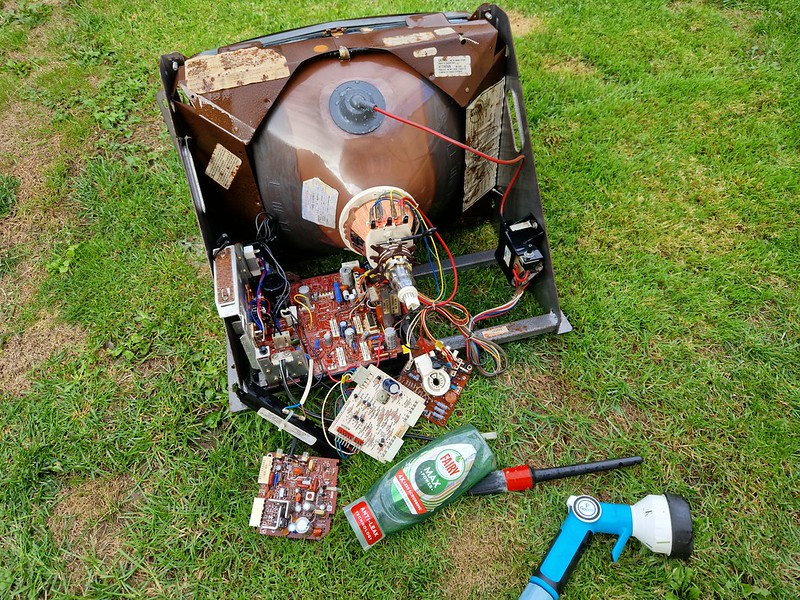 After a good wash and rinse, the monitor is looking like new again
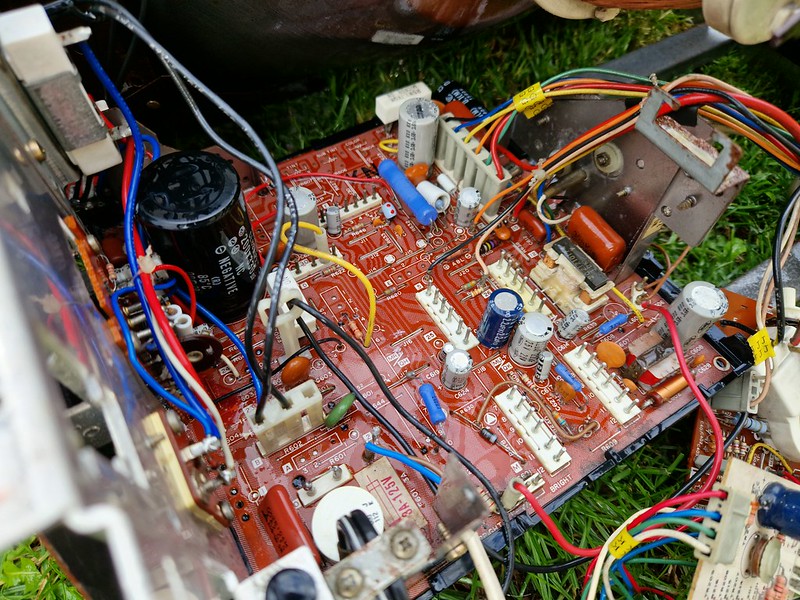 One nice clean monitor chassis. Makes working on it much more pleasant and who doesn’t like a nice clean monitor?
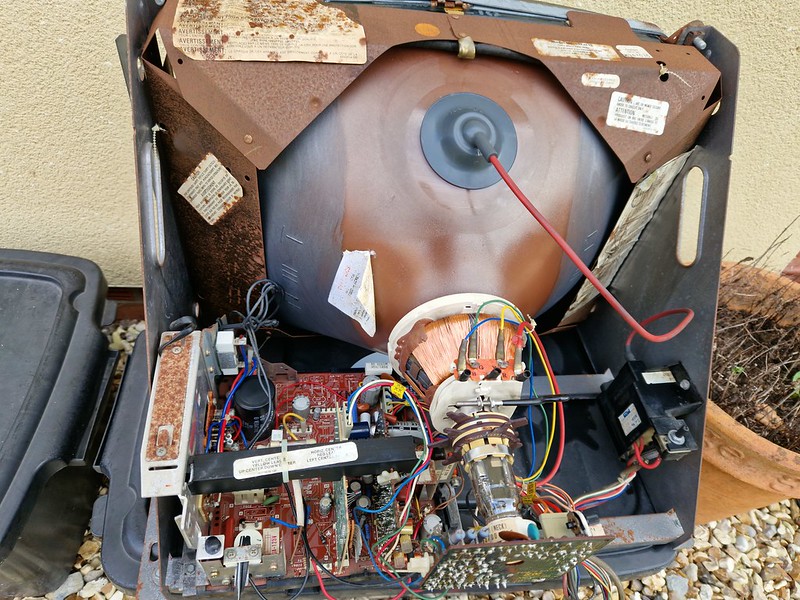 Once washed, blow any excess water away using an air hose or hair dryer, then leave outdoors for an afternoon to dry off in the sun.
 After letting the monitor fully dry out in a warm place for a couple of days, it was time to take a look at it. I worked on a few areas:
- Reflowed all the header pins on the remote boards after discovering some hairline cracks
- Resoldered the power cable – noticed it was detached
- Checked fuses and continuity to the neck board
- Made a new aqua dag grounding strap – the one it came with was rusted and had snapped off!
 Found it hard to dial in a stable image, and after checking B+, noticed it was very low. After a few adjustments, got it up to 127VDC, which is where it should be
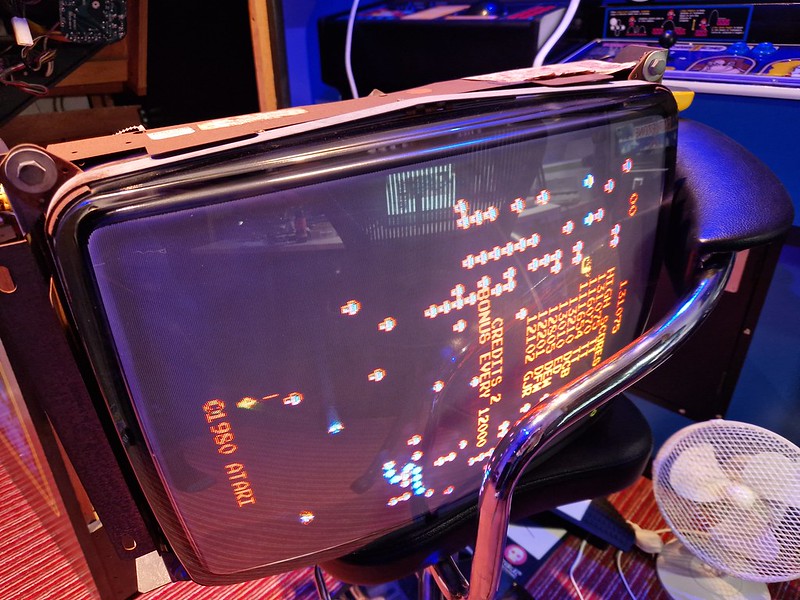 Not the greatest pic, but the image was sharp. It required some adjustment of the purity rings and neck board pots, but we have a working monitor. Soak tested in the Centipede cabinet for four hours, and we are good to go!
Having a working monitor without requiring major repairs is a huge bonus – very pleased with that.
Let’s get back out to the garage to tackle the cabinet:
 Grabbed my rubber gloves and a sponge. Hot soapy water with disinfectant was required.
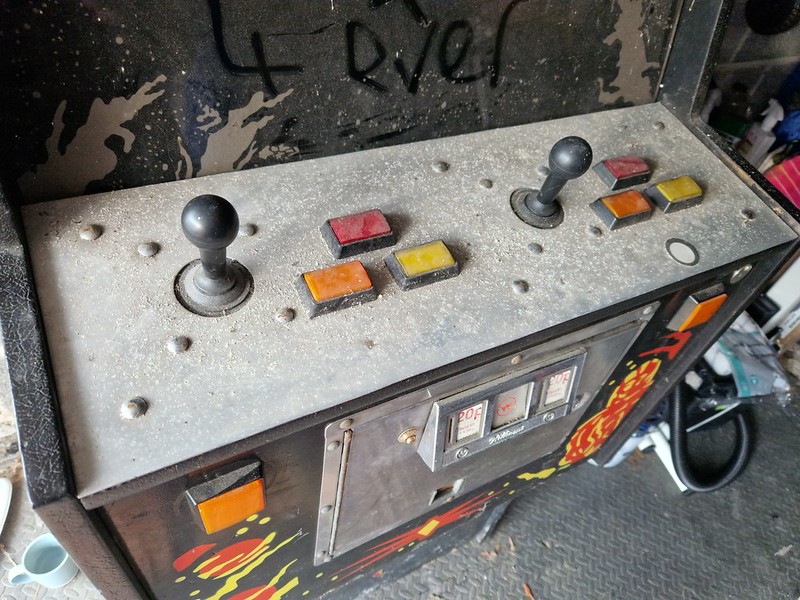 The cabinet is covered in mould and general grime, dirt and dust
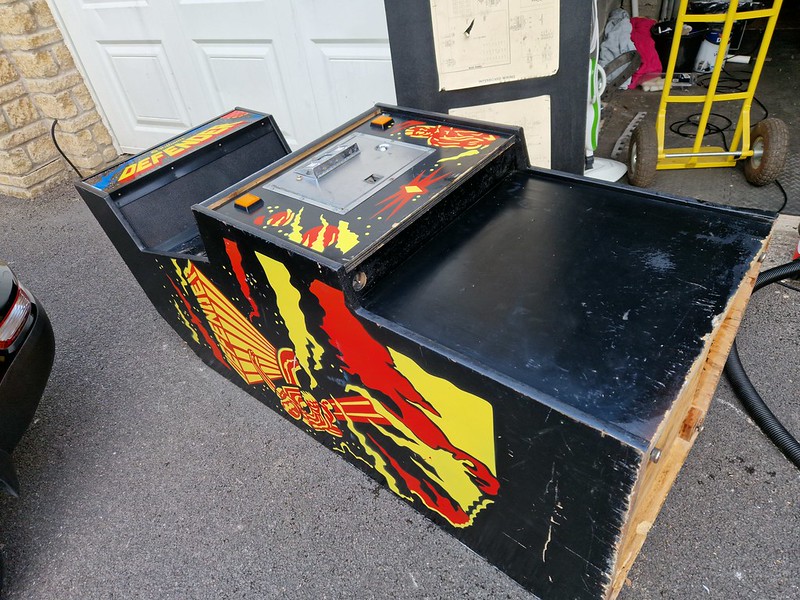
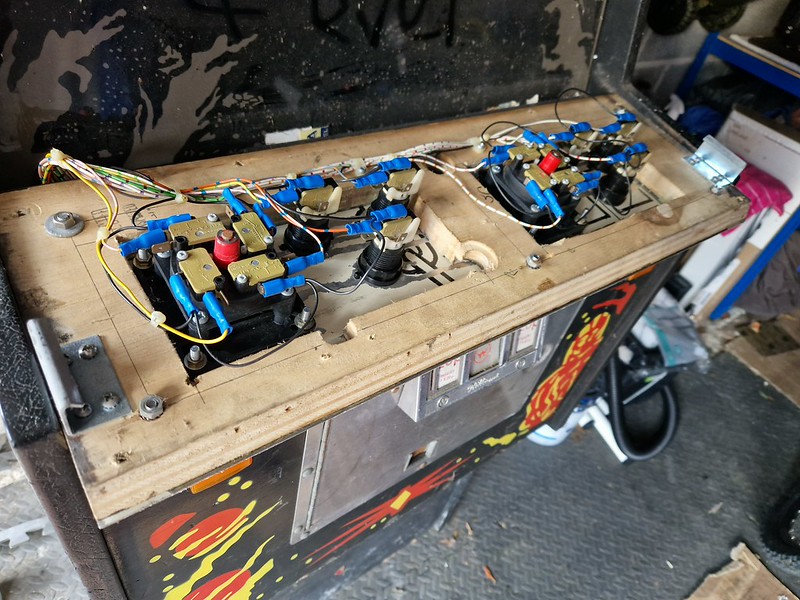 While we’re here, let’s take a look at the underside of the control panel. Although this is the original panel, it’s been hacked to death. This is going to need replacing
 Before
 After scrubbing!
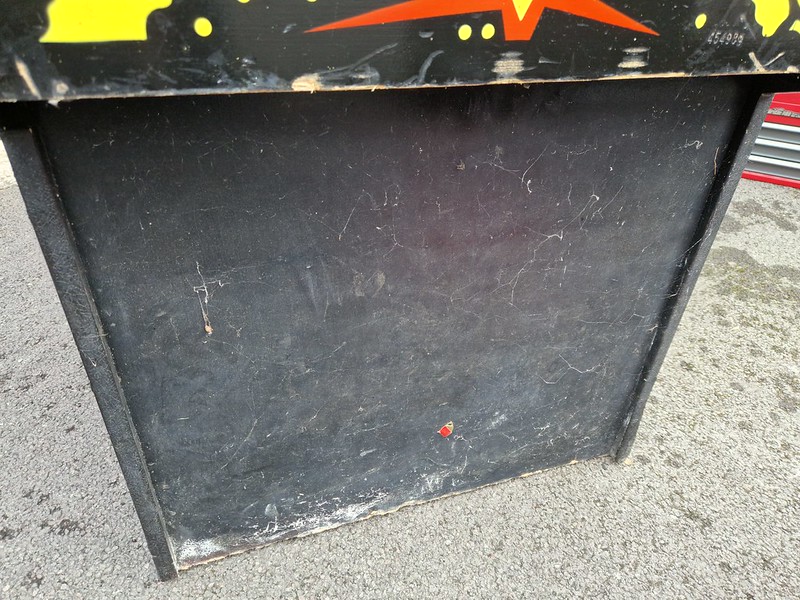 Before
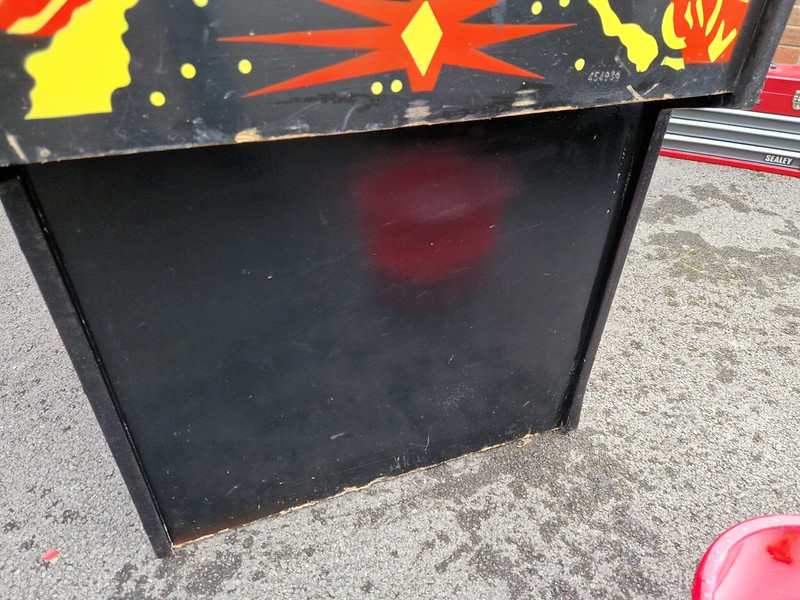 After
AfterFinished result:
 Getting there
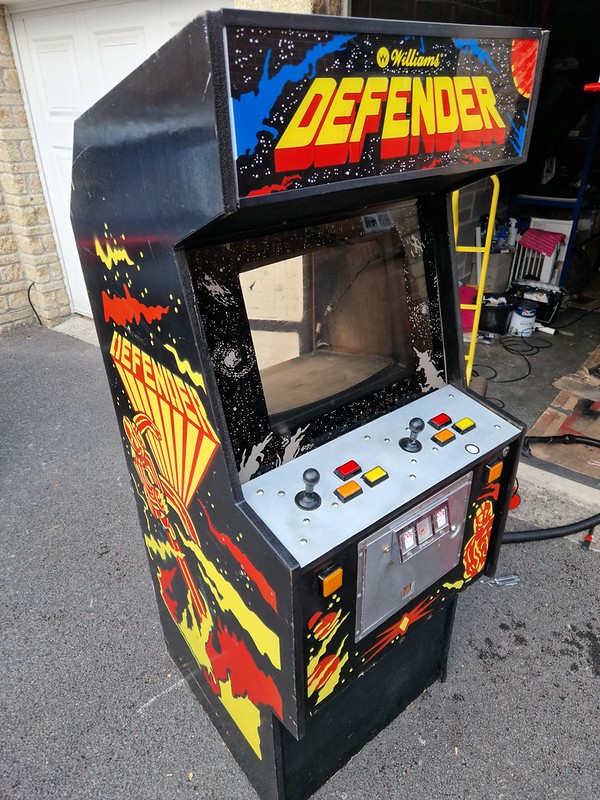 Looking much better. After cleaning, I gave it a good wipe down with wipes soaked in Antibacterial liquid to get rid of any remaining mould
Interior next.
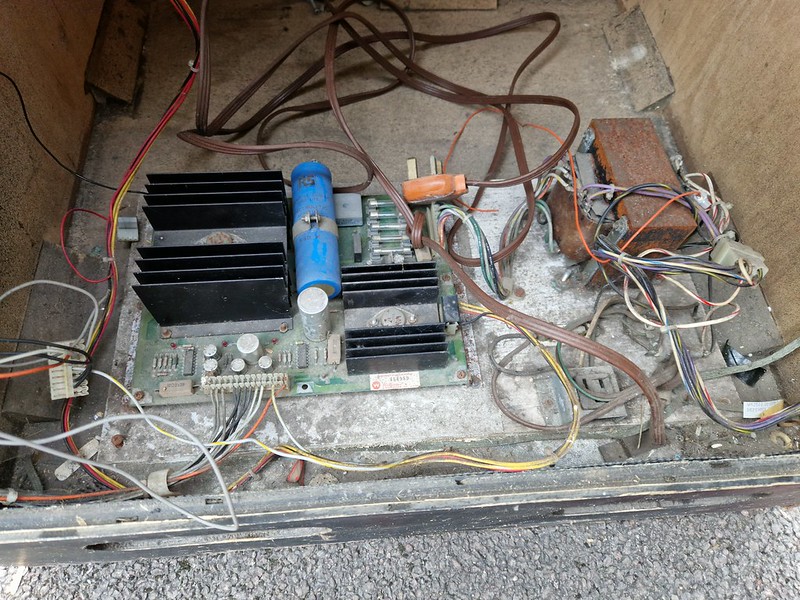 The base of the cabinet. Well, that’s not pleasant
 Before
 After using a soft vacuum nozzle and an old paint brush
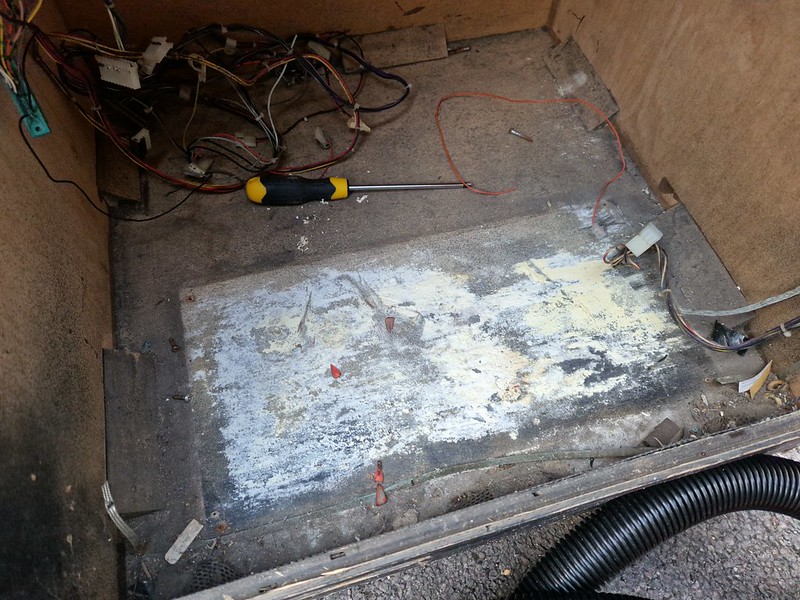 More mould
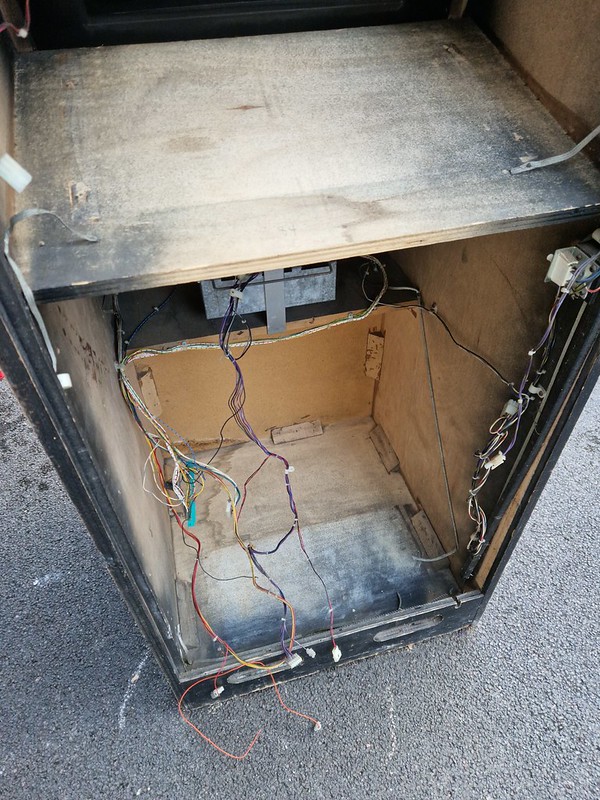 Finished result. Notice all the black overspray from the factory paint job! It’s now ready for sanding down. What’s left of the loom isn’t worth saving, so that’ll come out too
 The back door cleaned up nice too. I think we’re able to leave the sheets pretty much intact.
The base of the cabinet wasn’t nice at all:
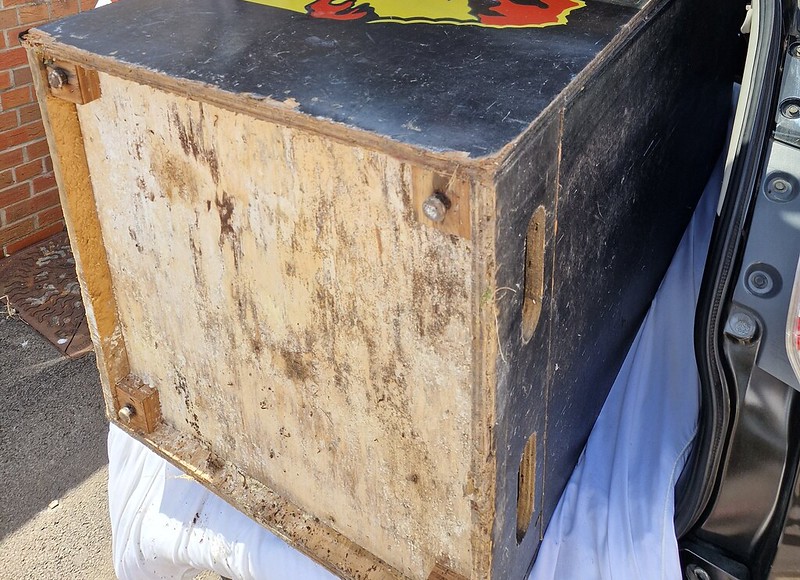 Urgh. Some rot has set in here.
 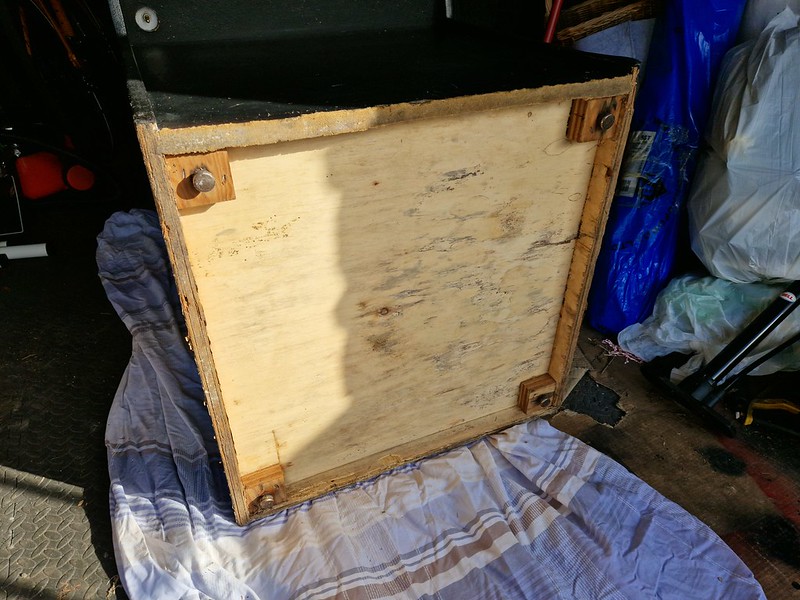 After a clean and light sand, we’re ready to treat the base
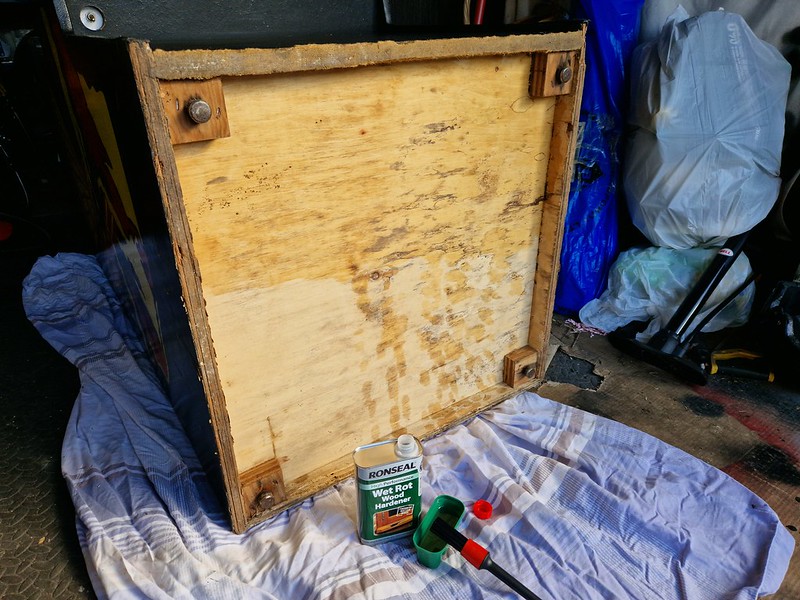 Been a while since I’ve had to use this, but its good stuff. Ronseal Wet Rot Wood Hardner. Goes on nice and easy, soaks in easy. When dry, the wood will be a lot stronger
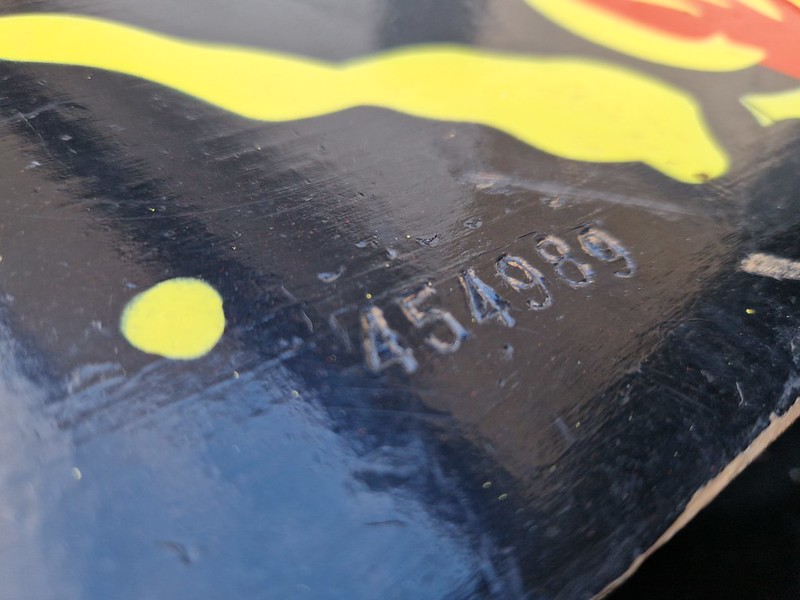 Data point: we have serial number 454989. Seems to be an early run cabinet compared to other serial numbers I’ve found online, but within the range of other UK cabinets
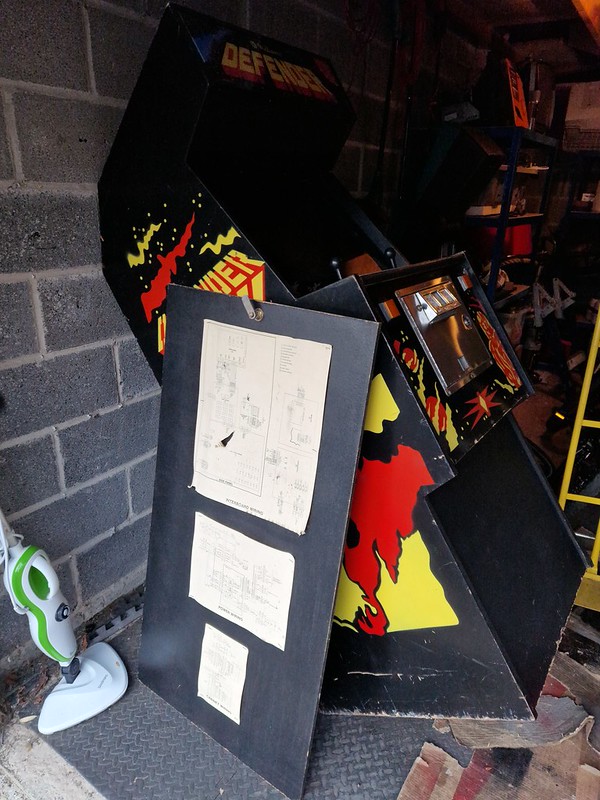 Leaving the cabinet now to dry out for a couple of days
So there you go. We’re in good shape with the Defender so far. I’m treating this job as a light restore, as I have no plans to hang onto it.
While this is drying out over the next few days, I’m on the hunt for a replacement control panel, and will be digging out a Jamma loom, Williams JROK board and new power supply.
Next steps will be removing what’s left of the original wiring loom, dealing with the random paint that has found its way onto the sides of the cabinet, then sanding out the inside bare wood to neaten it up.
Then we should be ready to install new hardware and hopefully get it running Defender again!
More updates in the coming weeks, so stay tuned.
Thanks as always for checking in!
Tony
Email Address:
Subscribe
More...