But if you’re in this hobby “for the money”, then you’re probably not in the right hobby – my primary motivator here was to actually own a Mini Cute, rather than looking to turn a profit of some kind.
As a piece of Japanese industrial design, there’s no denying its looks when placed in an arcade environment. Not to mention the benefits of owning an attractive cabinet with such a small form factor, coupled with the ability to play a multitude of games – what you have in my view is a very desirable arcade cabinet that will fit nicely into any existing collection.
So by way of recap, you can check out the first two parts of this restoration here and here if you missed the previous updates.
I’d made good progress up to this point – the original horrific paint job had been stripped, damage to the cabinet had been repaired, the respray was complete, new artwork was applied and things were coming together nicely.
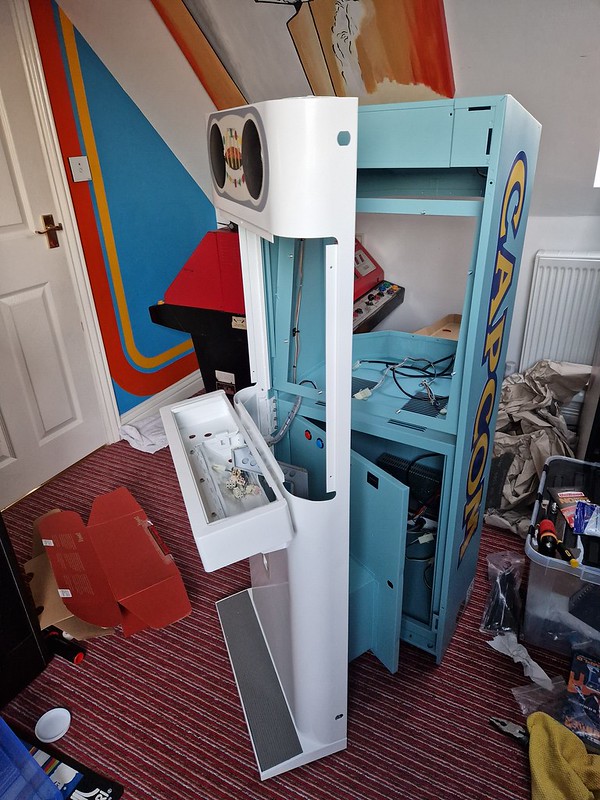 Here’s where we got up to with the Mini Cute restoration. Starting to look like an arcade cabinet again!
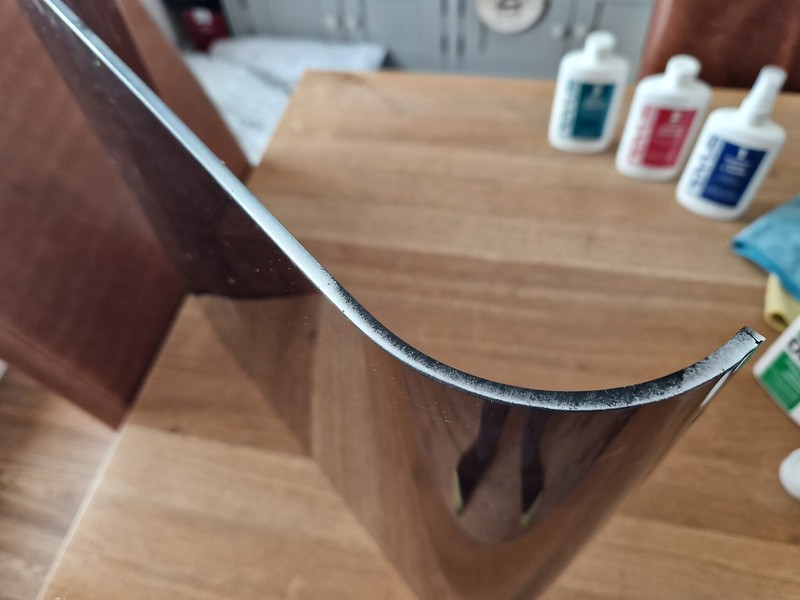
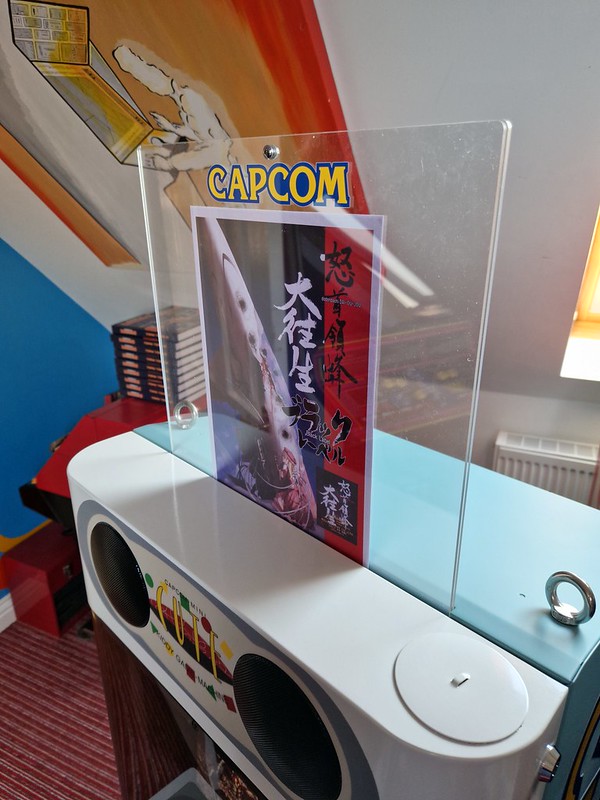
So it was time to take a look at the plexi. This is a smoked piece of acrylic that sits in front of the monitor. In previous restorations, I would normally replace with a new sheet ordered from Trent Plastics here in the UK. The issue here is its shape. Replacements are difficult to come by and although not impossible to reproduce, getting that organised and executed would likely cost an arm and a leg. Luckily the plexi I had was in pretty good shape, so I decided to clean up and refresh what I had. Plus its a tick in the box for originality of course:
 Here’s the first issue. There was some overspray from the white paint used when the cabinet was resprayed. I tackled this with a cloth and some paint remover. A lot of elbow grease required, but managed to get it all off
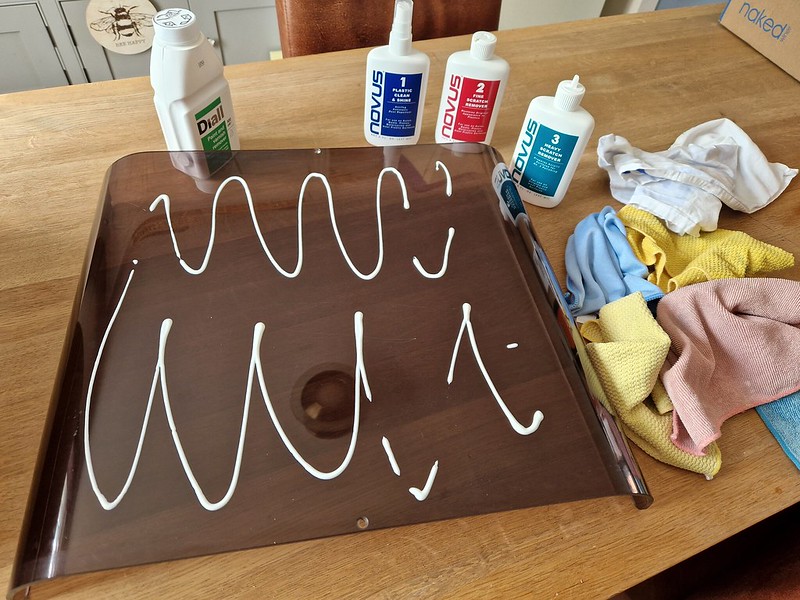 The plexi had a lot of fine and some deep scratches to it as you’d expect. To tackle these, I used Novus plastic polish. There are three stages to go through
 Starting with grade 3 polish I gave this a good 15 minutes, then moved onto stage 2 and finally stage 1. The results were very impressive.
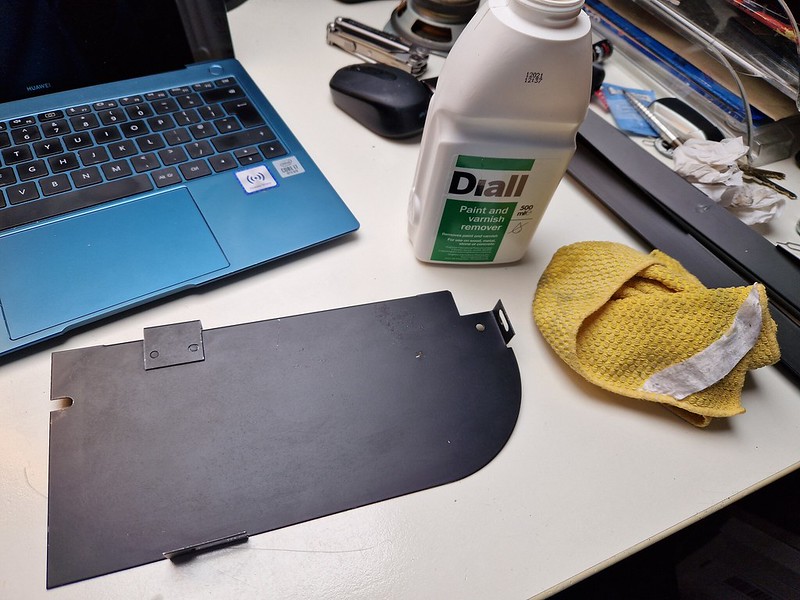
 So with the plexi looking like new again, I worked on some other parts which also had overspray. Again using a paint stripper compound, I used cloths to remove the paint from the monitor surround and loom. A long job, but well worth doing.
 Timing was everything. You need to leave the product on for just long enough to remove the offending paint without damaging what’s underneath. But everything worked out OK with a bit of trial and error.
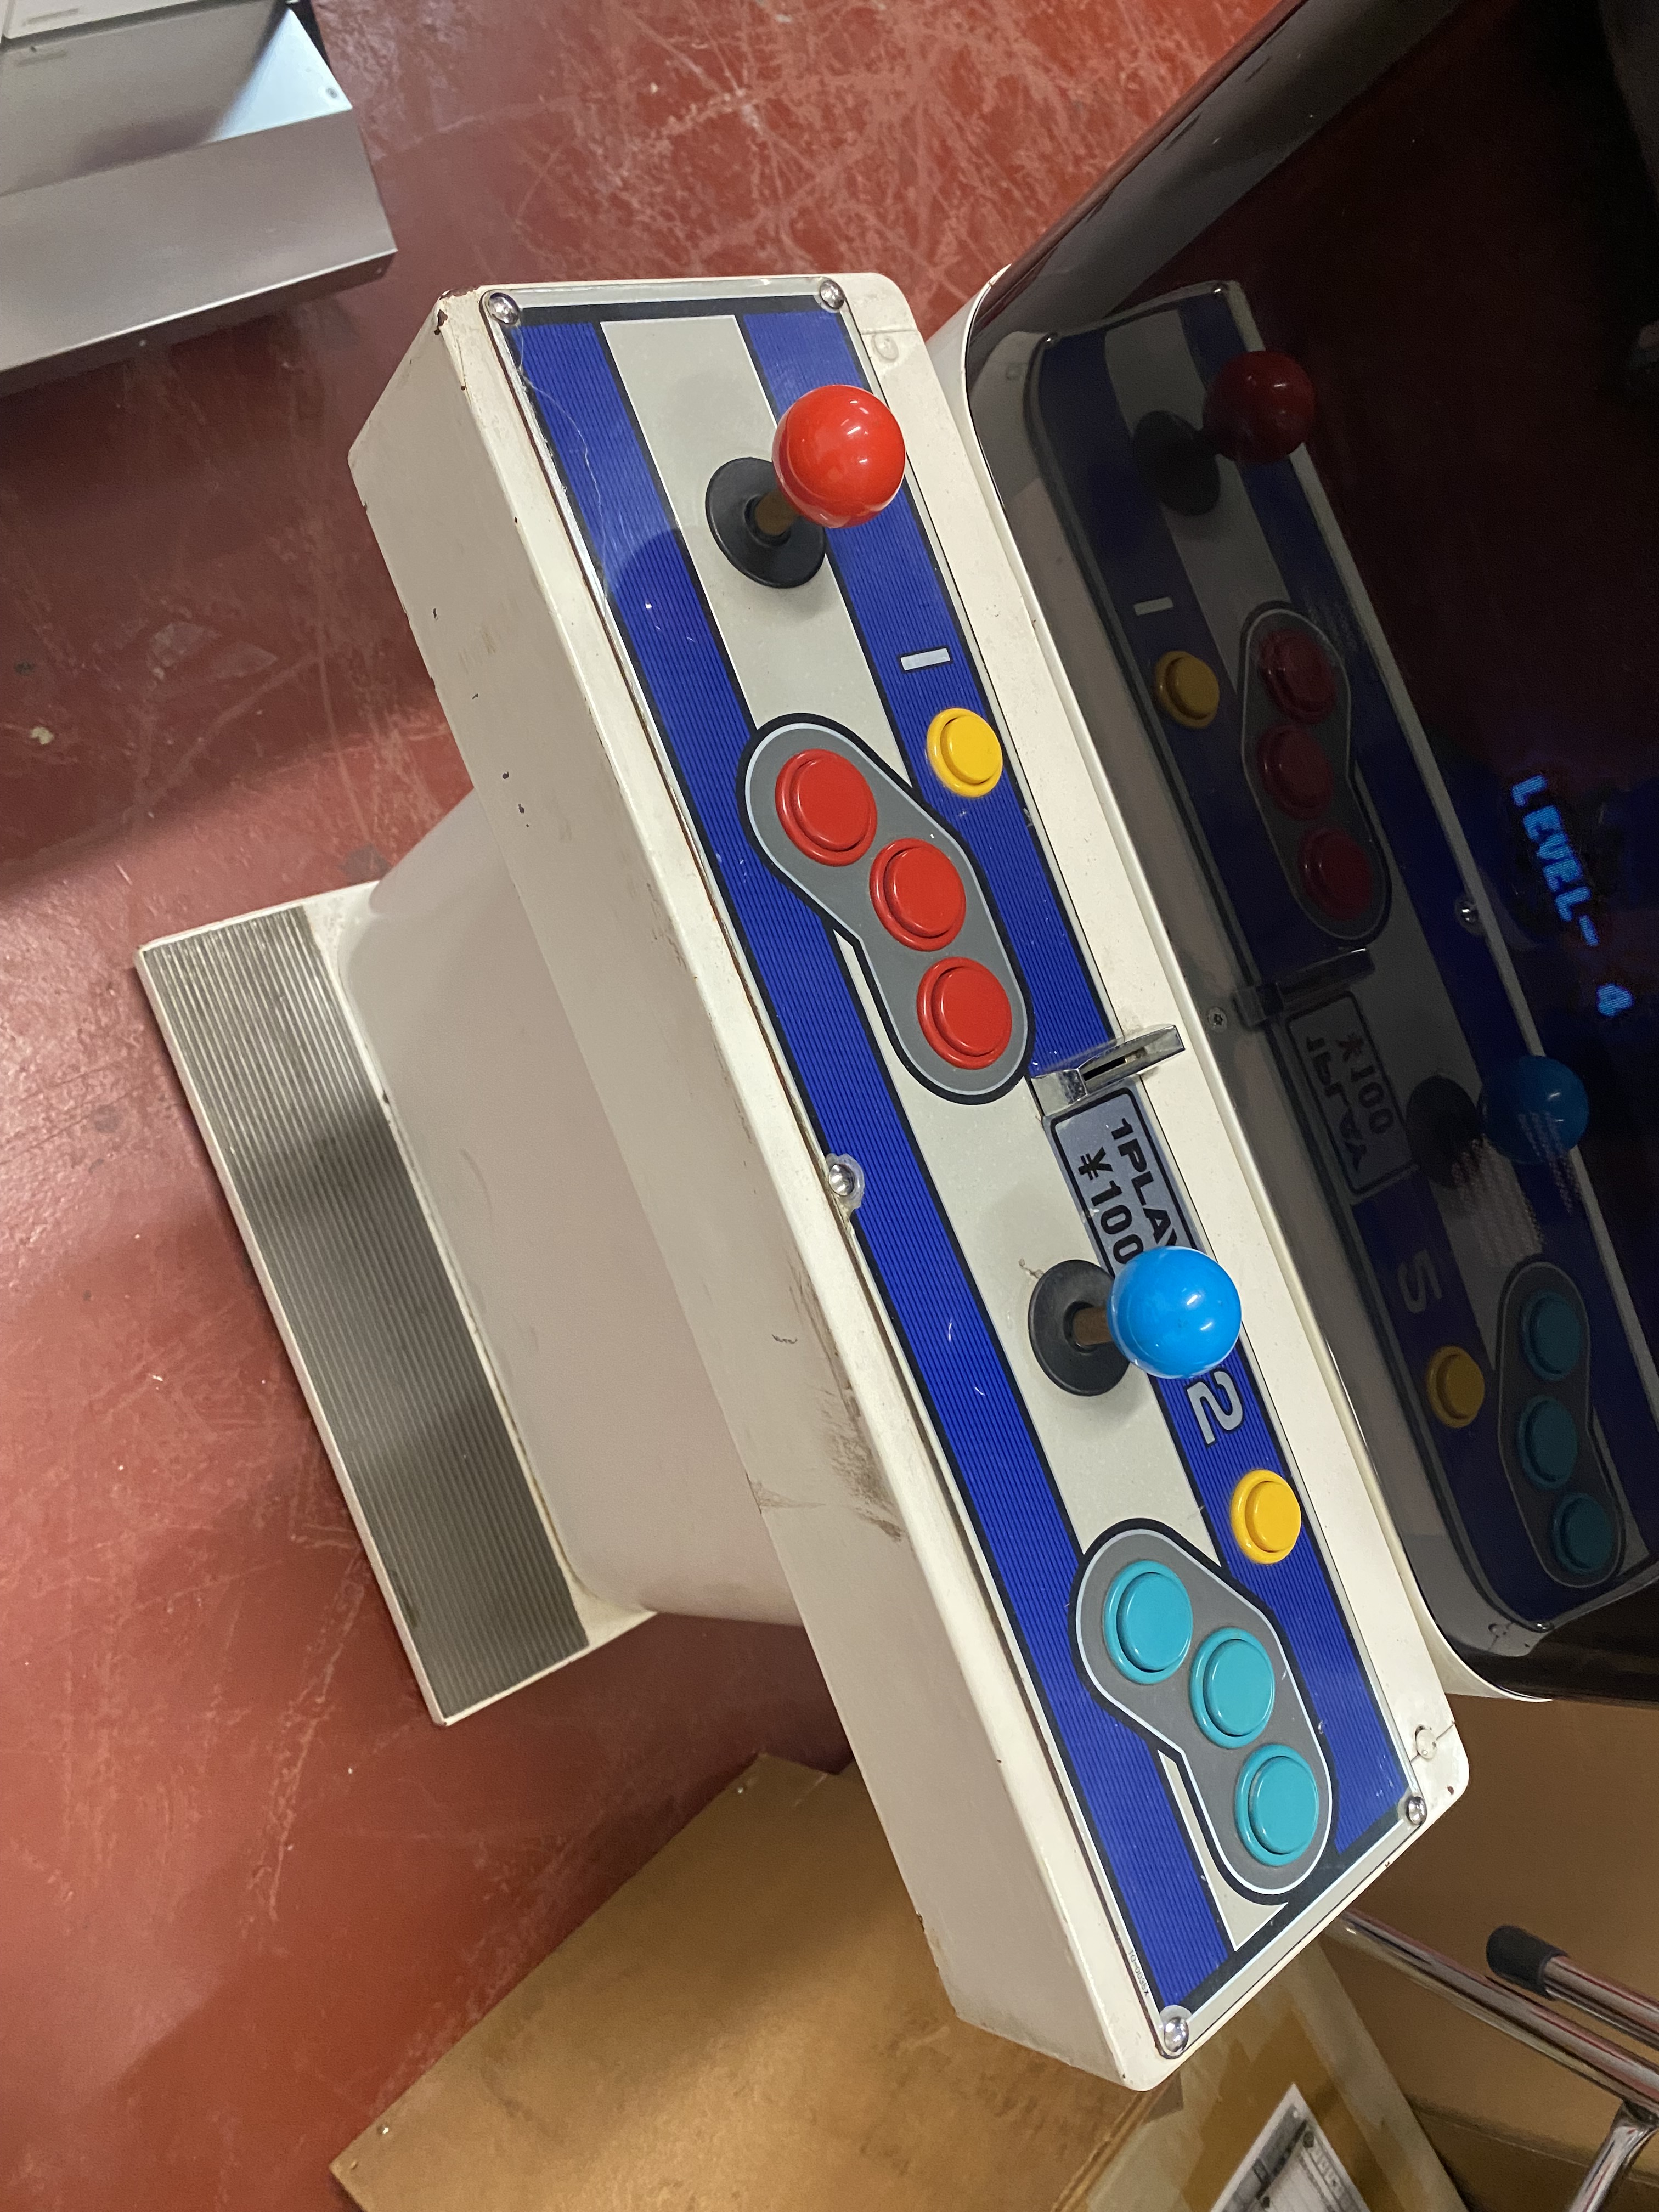
Next up was the biggest issue I had with this cabinet, the control panel! You’ll recall this was missing, and had been replaced (badly) with a Sega Aero table control panel.
 Urgh.
Urgh. Finding a replacement was hard work. I got a few leads from around the globe, but none were quite right or cost effective to purchase and ship. Eventually, I managed to do a trade with a UK based collector who was prepared to swap an original control panel for the chassis from the monitor that came with the cabinet. As I was replacing the monitor and so had no need to keep the chassis, this made sense to me. So after a drive to London, the deal was done – I was also able to secure a monitor shroud – something else missing from my cabinet.
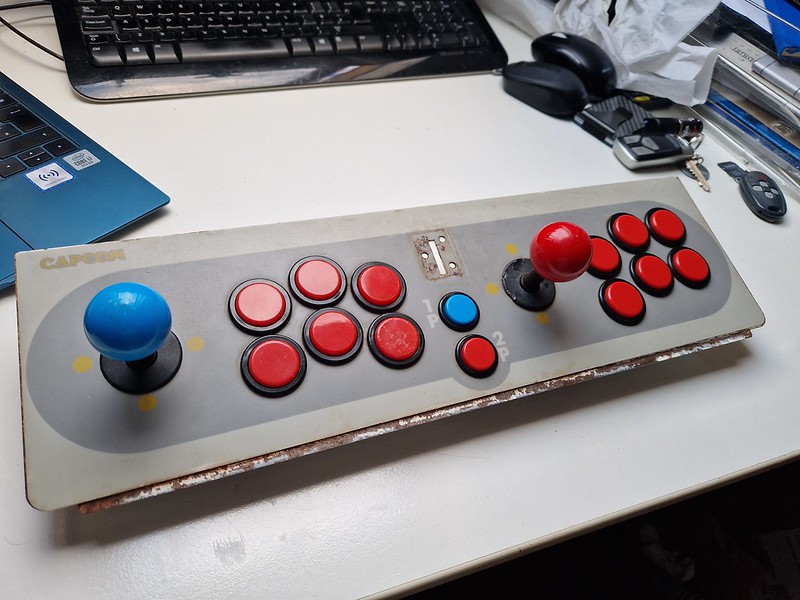 Here’s the panel as it came to me. Far from perfect, but it was complete and original!
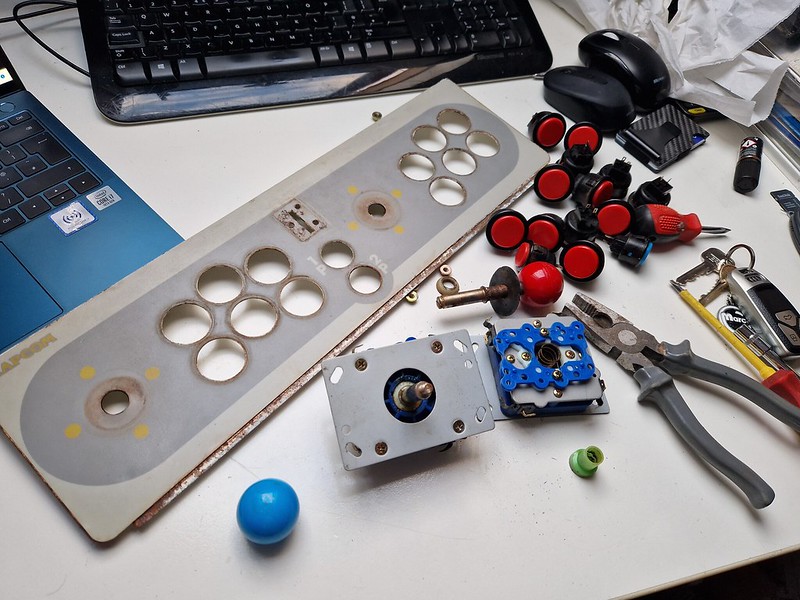 First job was to strip everything out. Removing buttons and joysticks
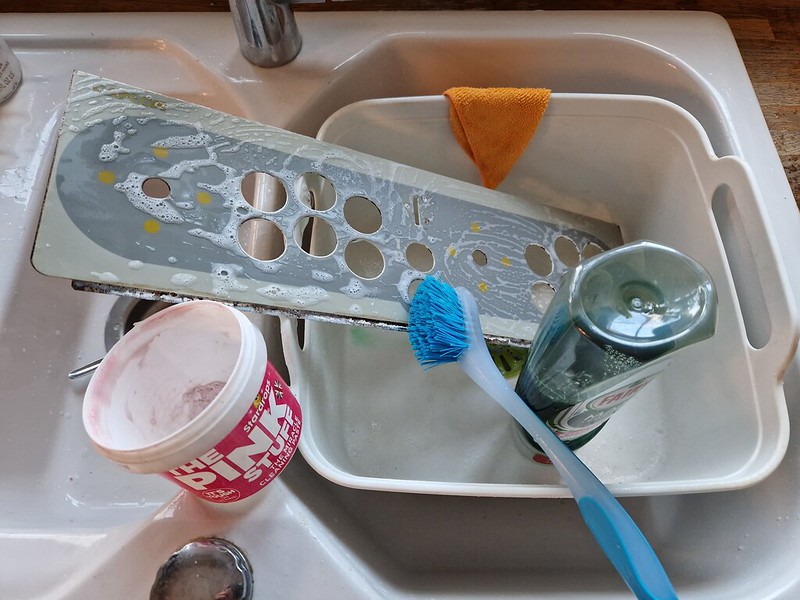 Into the sink with some hot water and detergent to remove the 30 year old gamer grime!
 Here’s the result. A couple of decisions to make here. Replace the vinyl overlay or keep it? I wanted to repaint the rusty edges, which to do properly, would mean removing the original CPO. After much thought I decided to mask off the CPO and paint the edges by hand with white Hammerite paint, which meant I could keep some originality and replace the original artwork
So after carefully touching up the rust spots, I was able to rebuild the hardware and ended up with this:
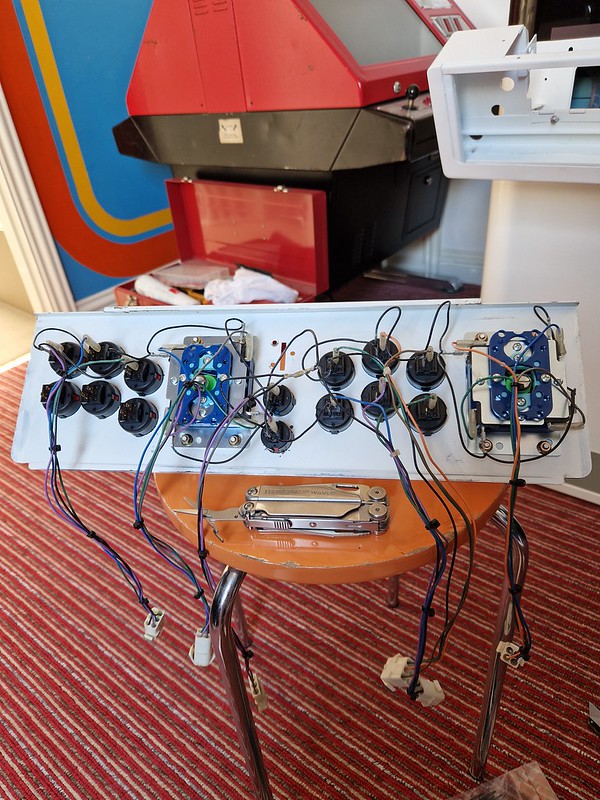 Rewiring underneath was not a fun job. Thankfully I had the original looms and connectors. I did find a break in the ground loop which needed tracking down and fixing, but got there in the end
 Here we go! Super pleased with how this turned out
So with this last piece of the puzzle sorted, it was time to mount the monitor. Now you’ll recall that the original monitor used in Mini Cutes is a very unusual one. The 18″ screen size is very difficult to find these days, as evidenced by the 19″ monitor that had been hacked into the cabinet when I got it. But I had a 17″ Hantarex lying around looking for a home, and decided to create new mounts inside the Cute, so I could utilise it in my cabinet.
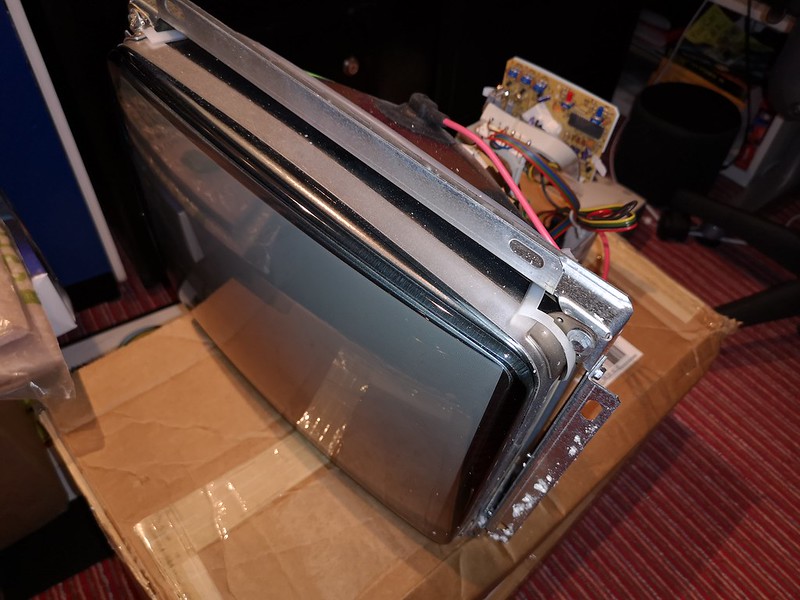 The brand new, never used, Hantarex monitor
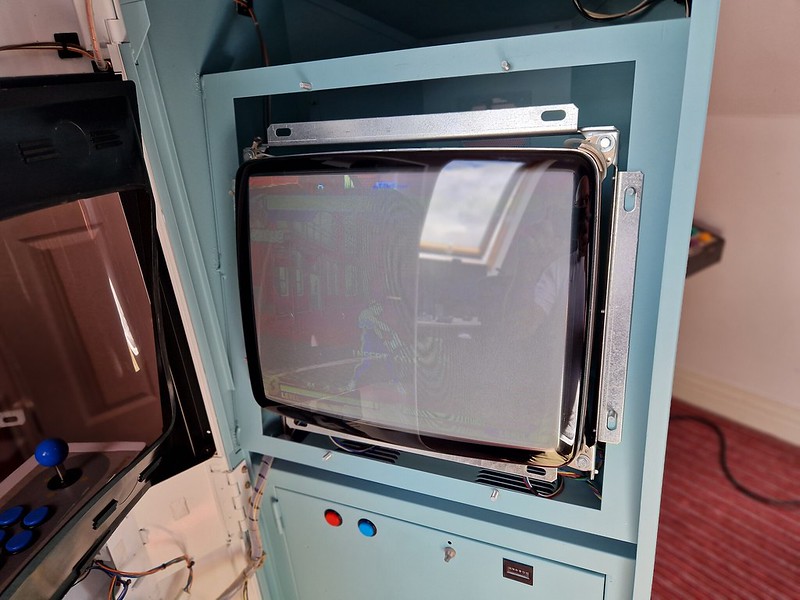 And here it is mounted horizontally in the cabinet. Looks great! Notice the four mounting bolts I had created to hold it in place
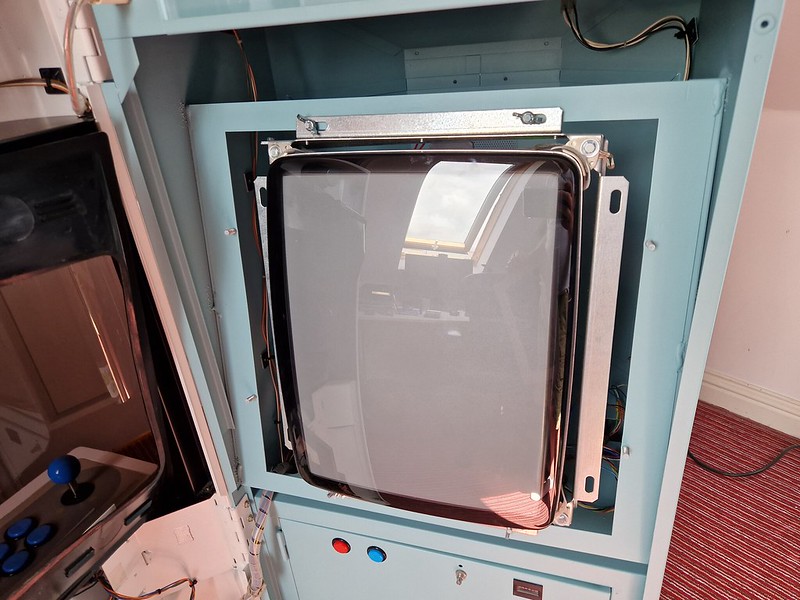 And vertically. I was keen to have the option to play both horizontal and vertical games in the cabinet, so the new bolts allow me to rotate the monitor easily. Takes about 2 minutes to do!
Another thing missing from the cabinet, which I didn’t realise for some time is the plexi-marquee. This is mounted at the top of the cabinet to showcase to players the current game installed. Courtesy of Arcade ArtShop UK, I was able to get a new replacement.
 The plexi is in two parts, which holds any art nicely. (I need to resize this obviously)
So the big question is what am I going to use to play games? For now, I’ve set up a Jamma-Pi system. This clever bit of kit uses a Raspberry Pi computer, running an emulator, with an adaptor to connect it to the Jamma loom found inside the Mini Cute. The menu is very easy to navigate and swapping games can be done with the click of a button
 Here is the JammaPi system installed
So that’s pretty much it! Here’s the finished product:
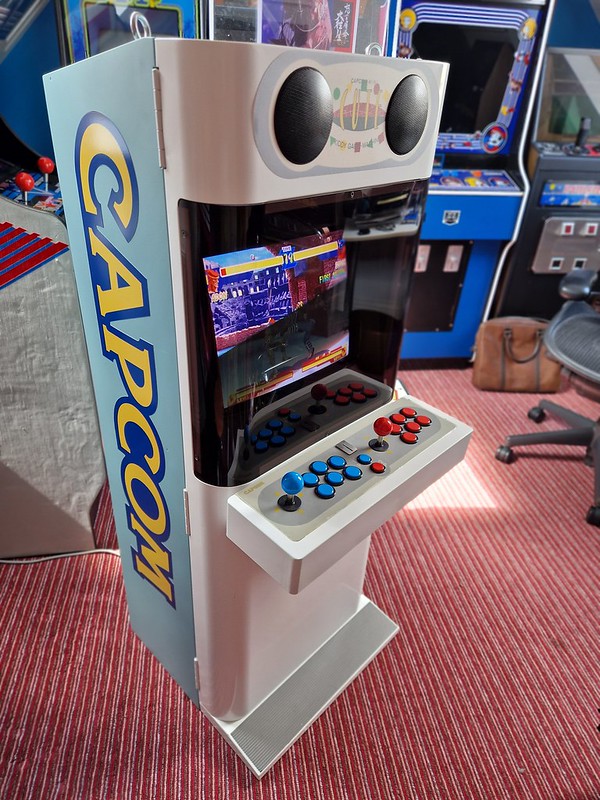 A Capcom Mini Cute!
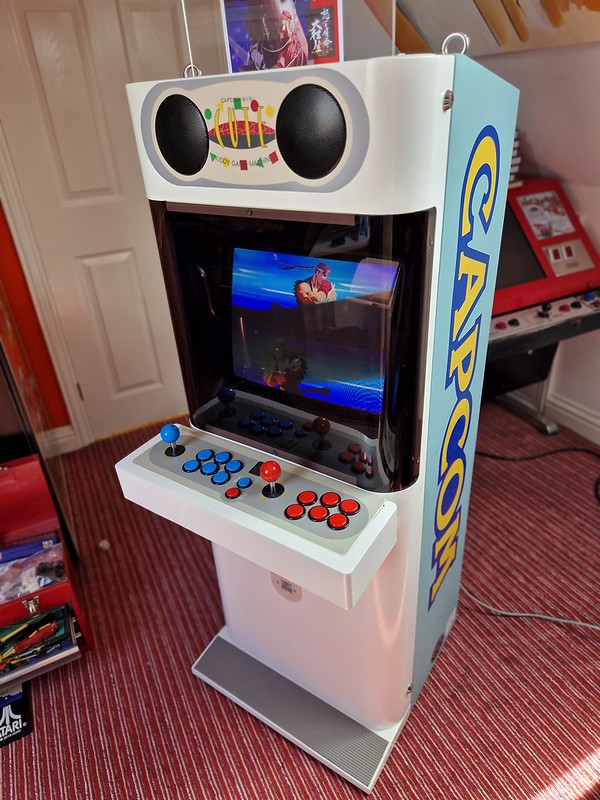 Here its running Street Fighter Alpha 3. (Apologies for the way the camera picks up the monitor. Pesky refresh rates!)
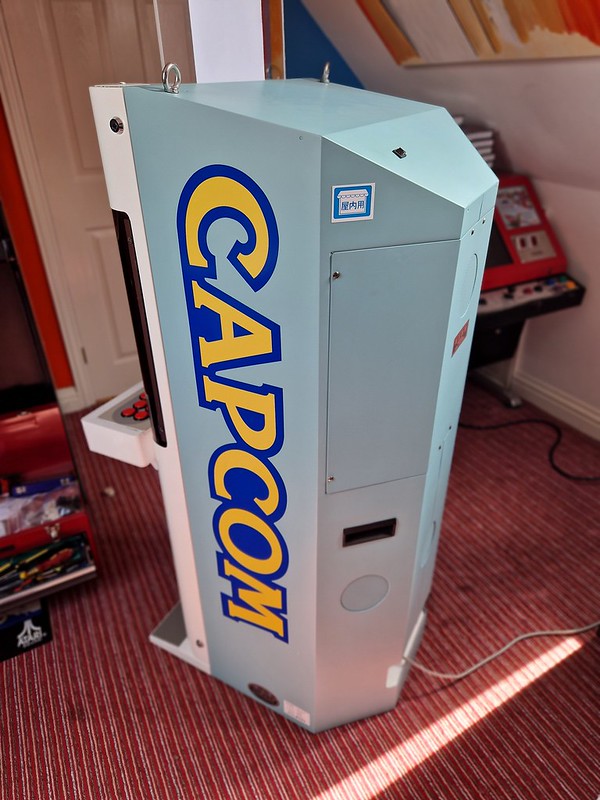 I love the colour. It pops nicely in the sunlight. The repro side art and various decals look great
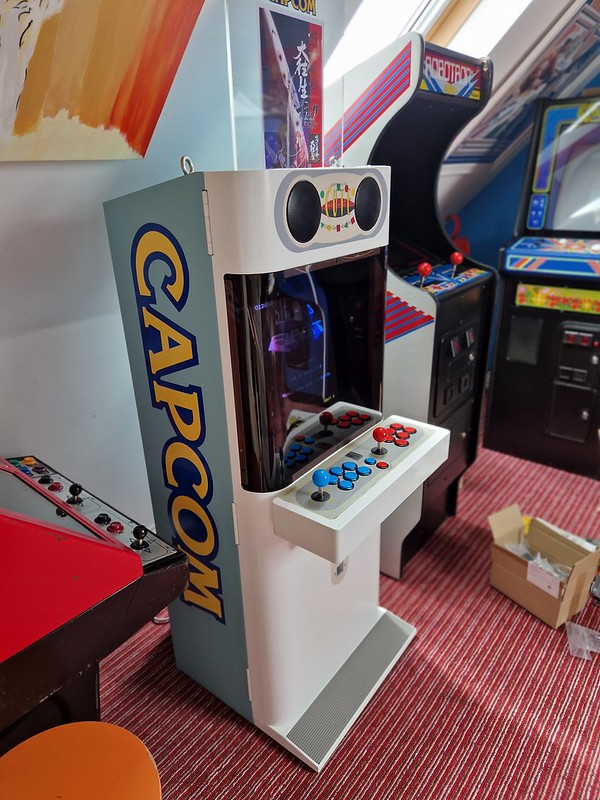 And this will be its home. It fits nicely under the eaves of the loft arcade room, next to the Nintendo Red Tent and Robotron cabaret
But that’s not all. I managed to find a guy based in Taiwan who reproduces control panels, so asked him to make me up a 1P panel. It took a few weeks, but the result was great and perfect for this tiny cabinet.
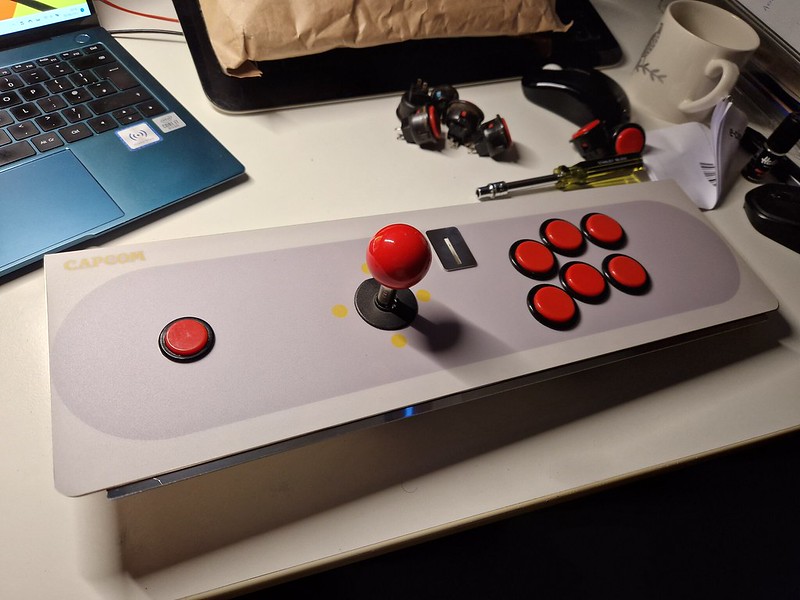 After populating with replacement Seimetsu red joystick and buttons purchased from the guys at ArcadeWorld UK, we are good to go
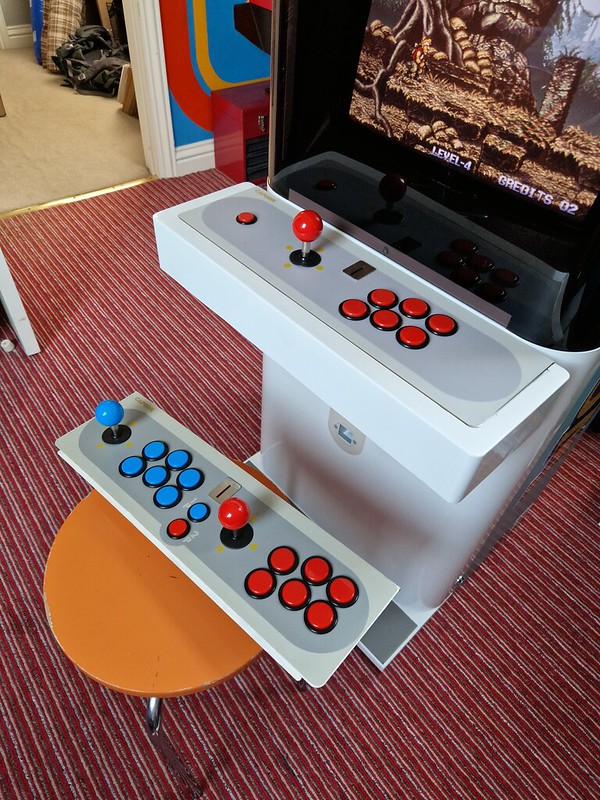 Here it is installed with a comparison of the two layouts for one or two players. Its a quick hot swap to change them out depending on what I want
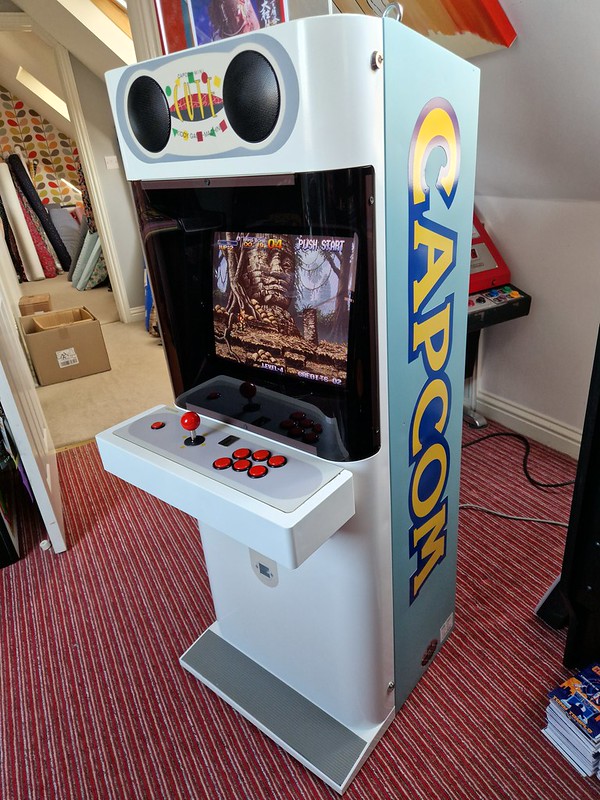 Great to have options and a less cluttered control panel when playing 1 player games
So there you have it. Its been a long road to get this cabinet to where it needed to be. But after a great deal of thought and planning, I’m delighted with how this Mini Cute has turned out. There’s a couple of minor jobs left to do. I want to replace the switching power supply. Its not original, and I’m not convinced its entirely reliable, so have a Suzo Happ one on the way, which I’ll drop in next week. I’m also looking for lock tangs for the control panel. Its secure with the screws holding it in place, but for authenticity’s sake, I like to complete that job (get in touch if you have any!). Some of the loom inside could do with tidying up too.
There’s also the subject of the monitor. I’m almost swinging towards buying an original 18″ one to make the cabinet exactly how it should be (I’ve found one here in the UK for sale), but it won’t be a cheap exercise, and will require some changes to the monitor mounts that I painstakingly designed in order to fit the 17″ Hantarex. I’m going to have to cut the cabinet in some way to fit an original monitor. Having said that, the Hantarex does give a lovely picture and is only slightly smaller than the original, so it isn’t troubling me at all in terms of playing games – it is a niggle though. Anyway, let me know your thoughts on that in the comments below – I’m undecided.
Meantime, here’s a reminder of how this cabinet started out, and where it is now!

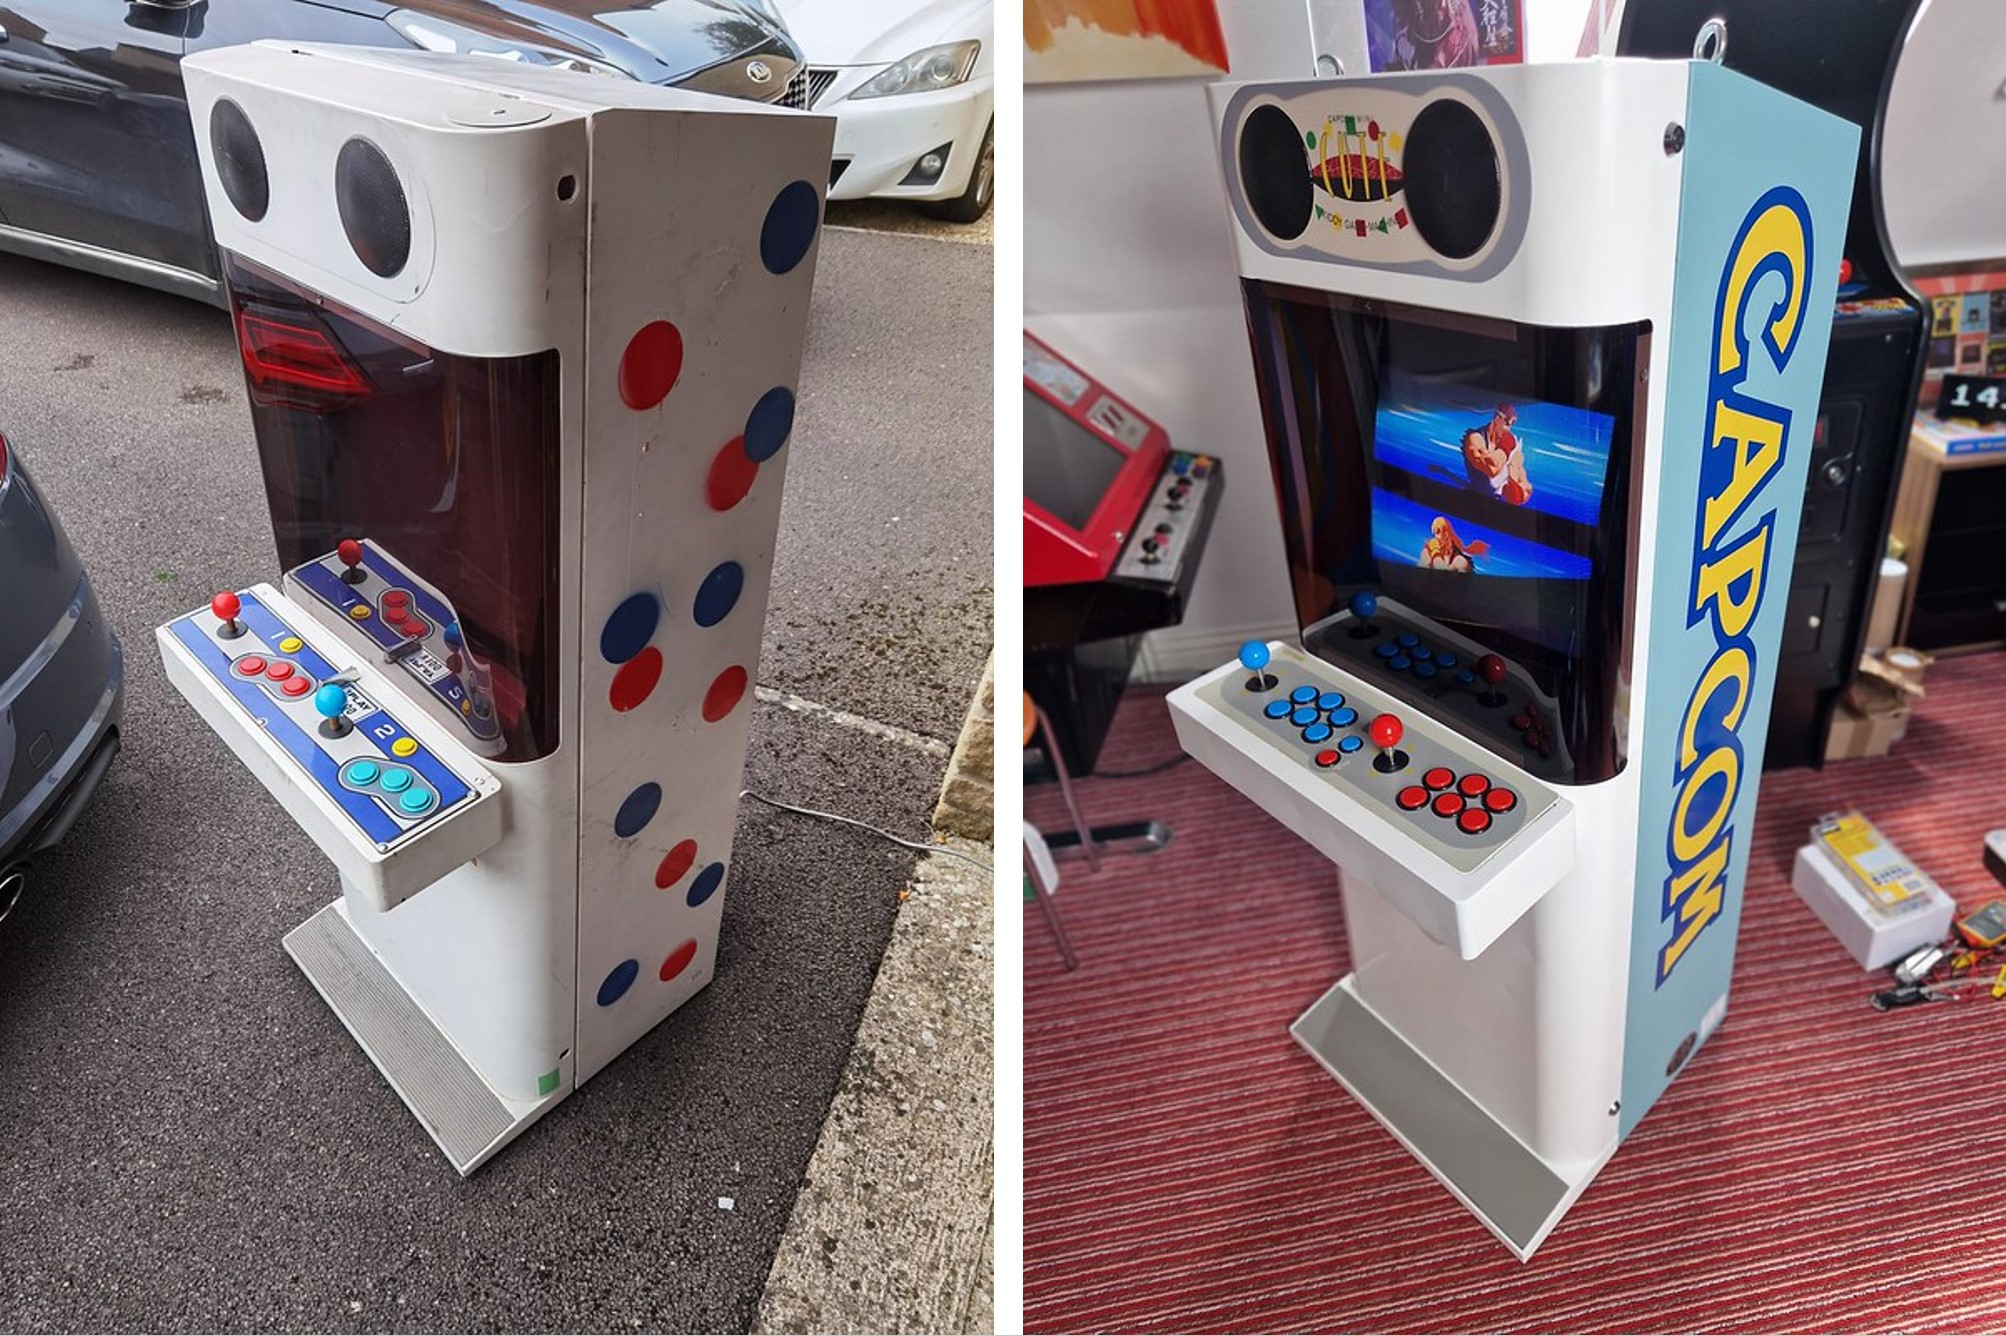
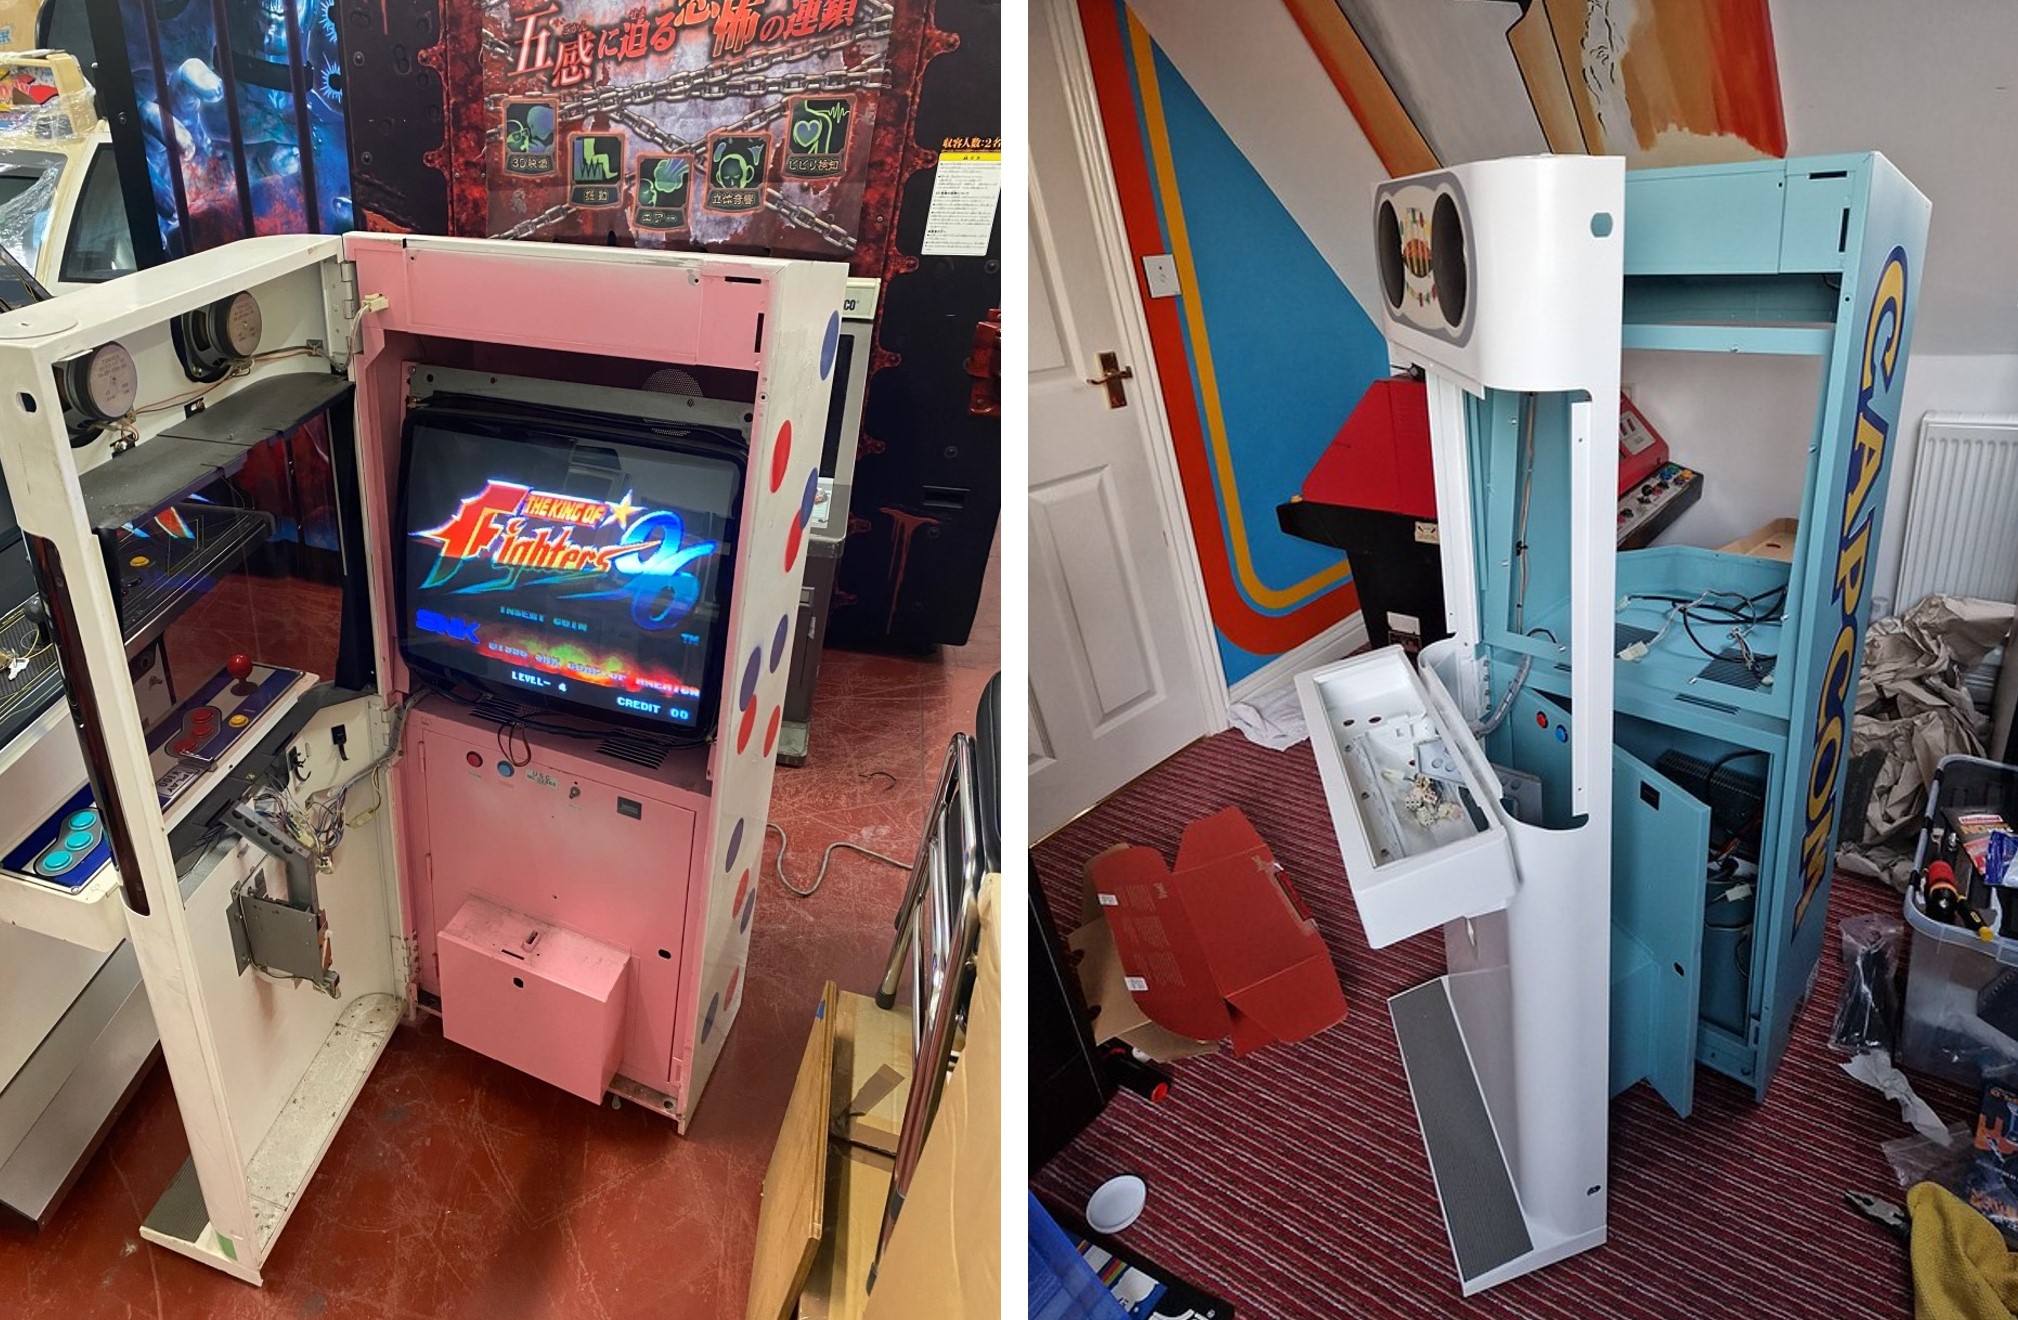
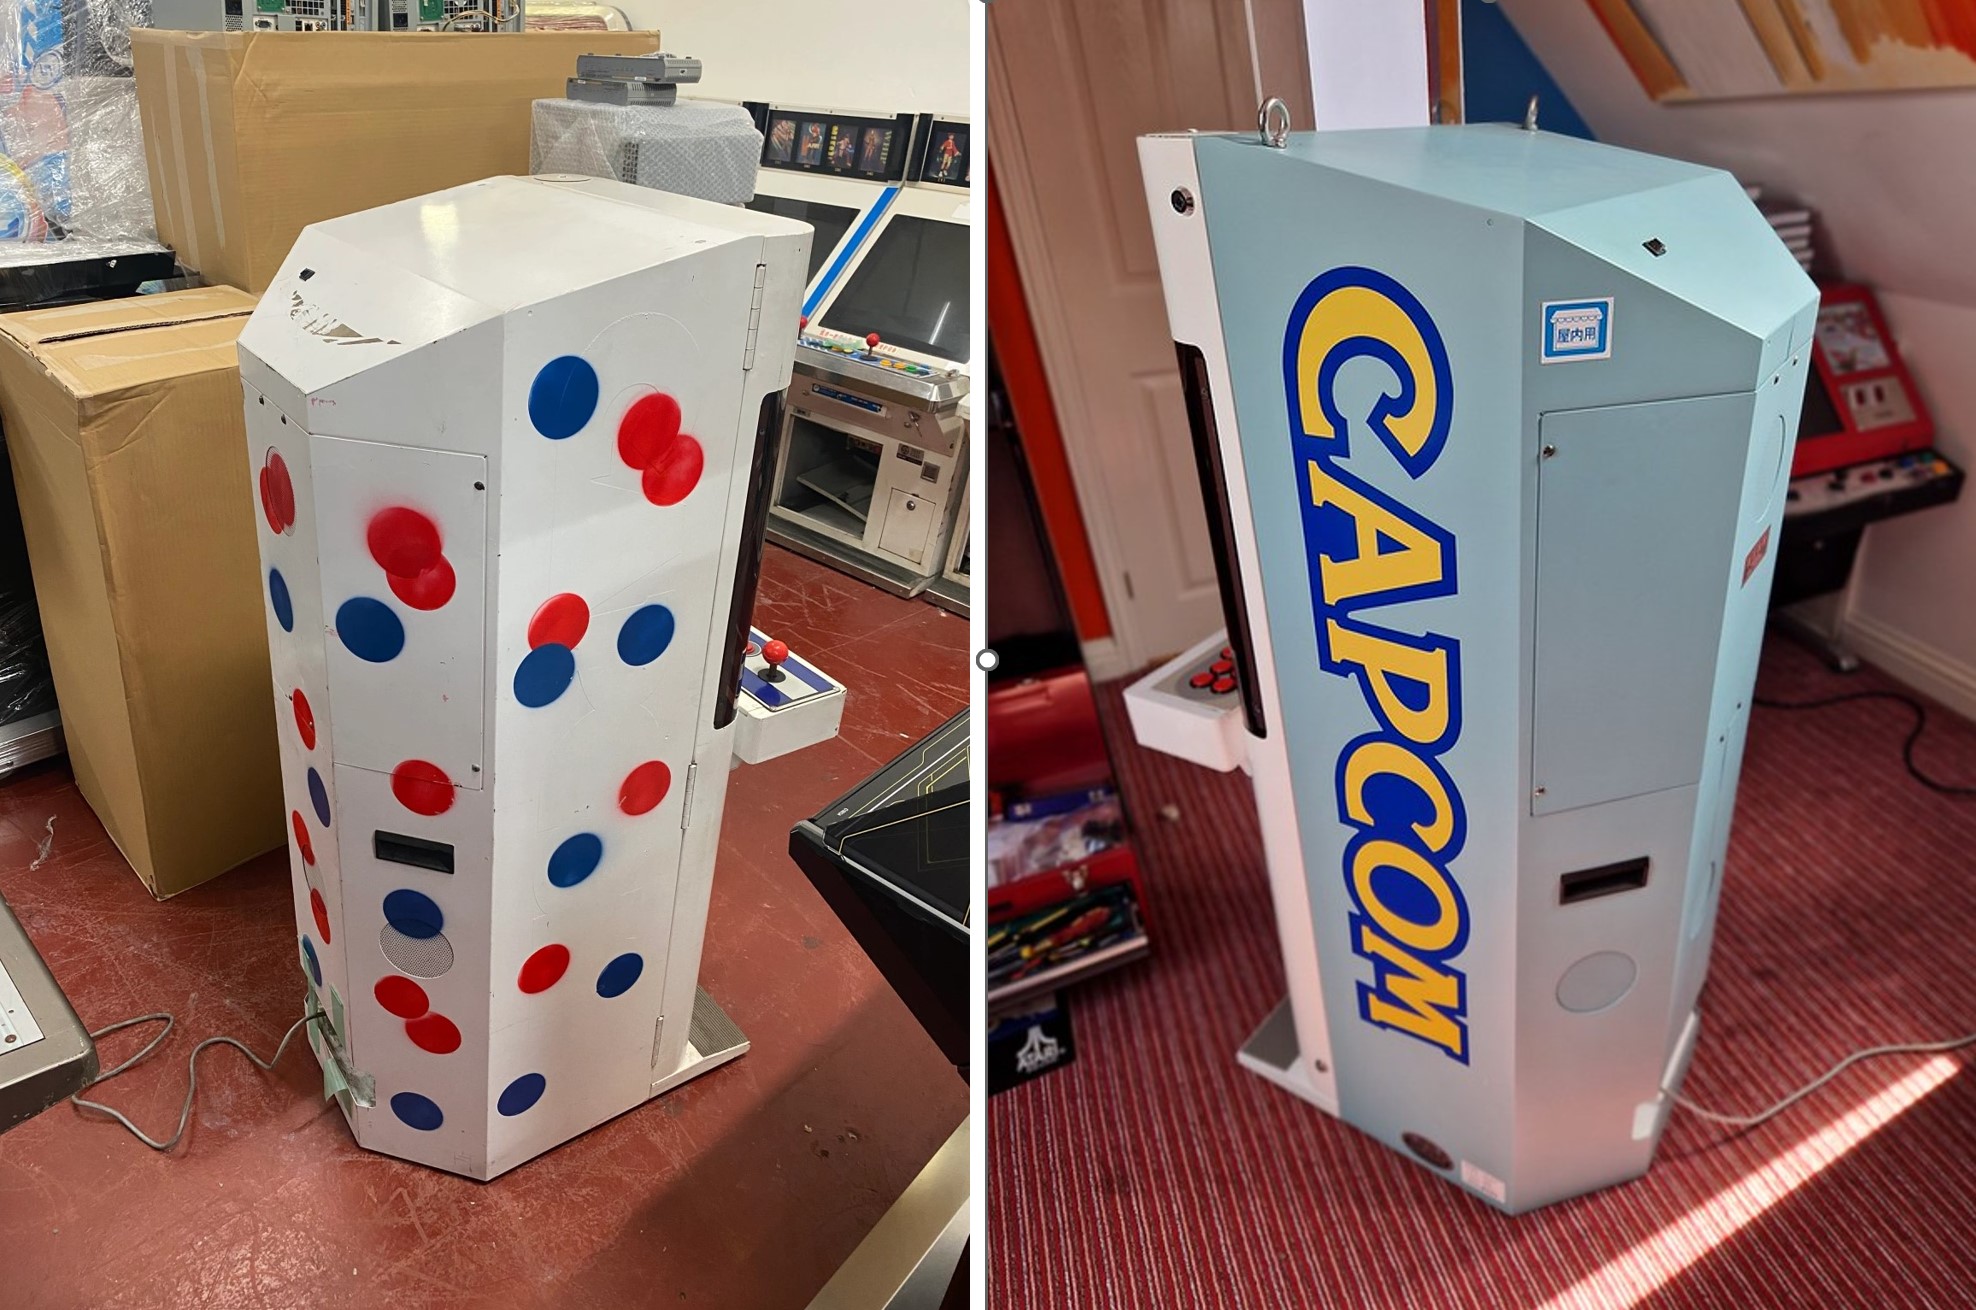 A long road, but well worth it
Capcom Mini Cute!
Thanks for reading this week and for following this restoration – read the whole process here.
See you next week for more classic arcade musings!
Tony
Email Address:
Subscribe
More...